Easy Thanksgiving DIY! Make a Wooden Pilgrim Turkey
This month’s Young Builders project is all about getting into the Thanksgiving spirit with a festive DIY wooden Pilgrim turkey! ? Using just a few wood boards, nails, and plenty of creativity, you’ll build and decorate your very own turkey that’s perfect for displaying on your table as a centerpiece or as a wall décor.
It’s a fun, hands-on project that lets kids explore simple building skills while expressing their artistic side with paint and color. Whether you make it bright and bold or keep it classic, your turkey will be a one-of-a-kind piece to show off all season long - a cheerful reminder of creativity, gratitude, and family time together!
Ready to get creative with this fun turkey project inspired by the season? Keep on reading to learn.
Project Kit Includes:
- 3 large wood boards (for the turkey’s body)
- 2 smaller, thinner wood pieces (for the back braces)
- 1 small piece for the pilgrim hat
- Hammer and nails
- Paints and brushes
Heads up! Michelle recommends wearing your best painting clothes - things might get a little messy once the paint comes out!
Step-By-Step Instructions
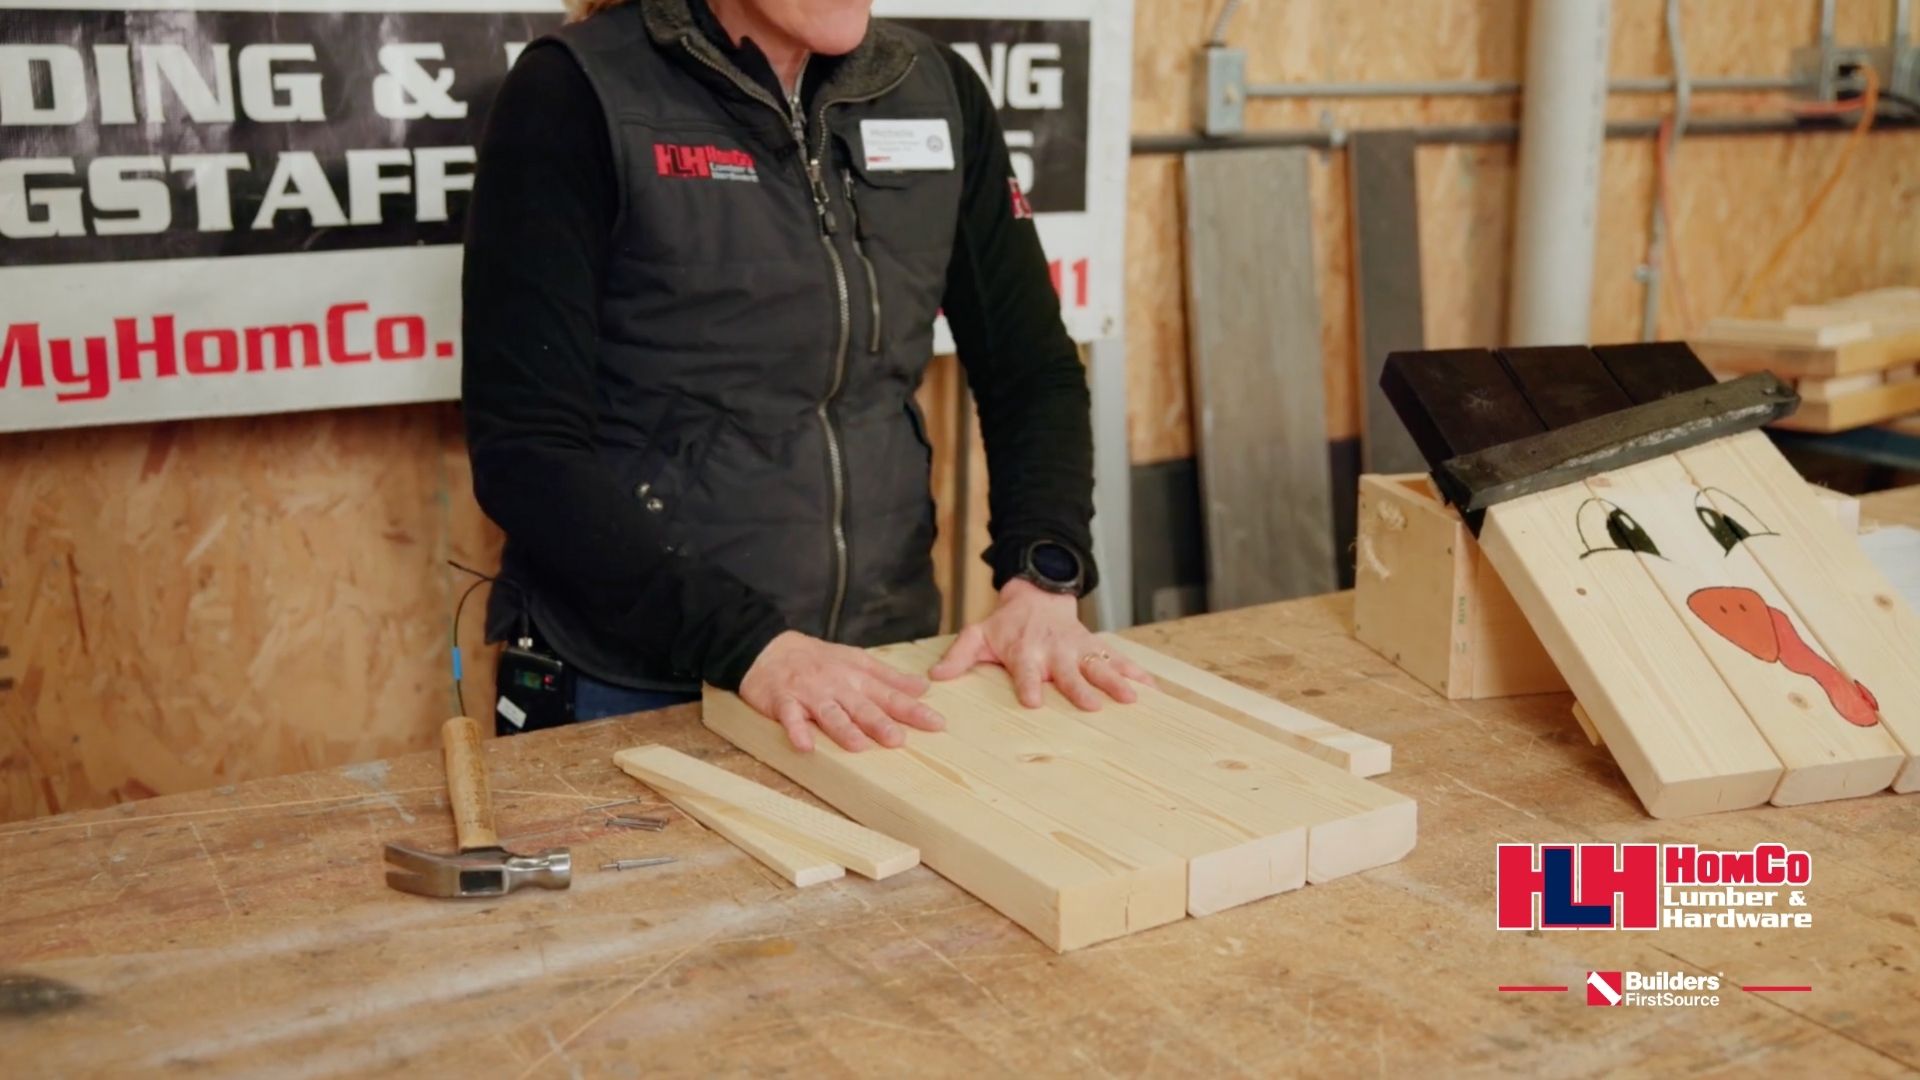
Step 1: Lay Out Your Boards
Start with the three large wooden boards lined up side-by-side. This will form the body of your turkey.
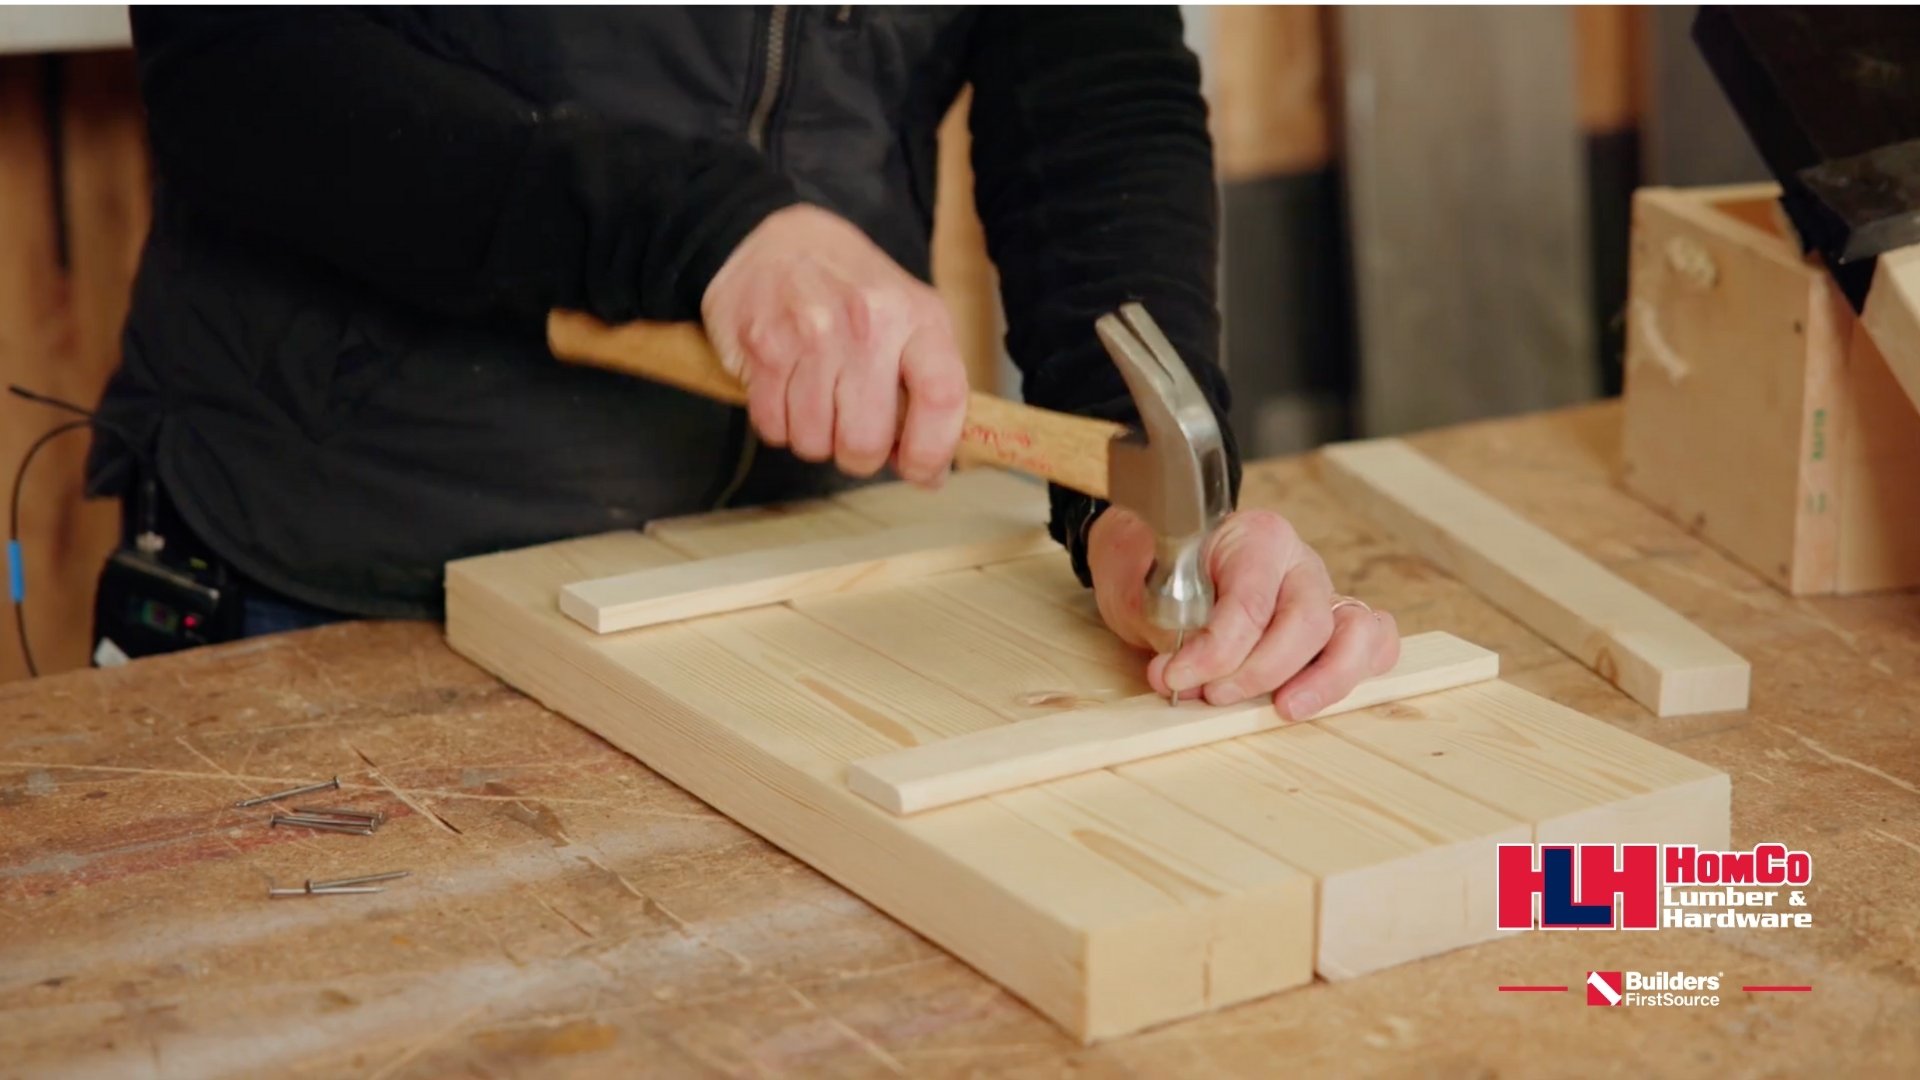
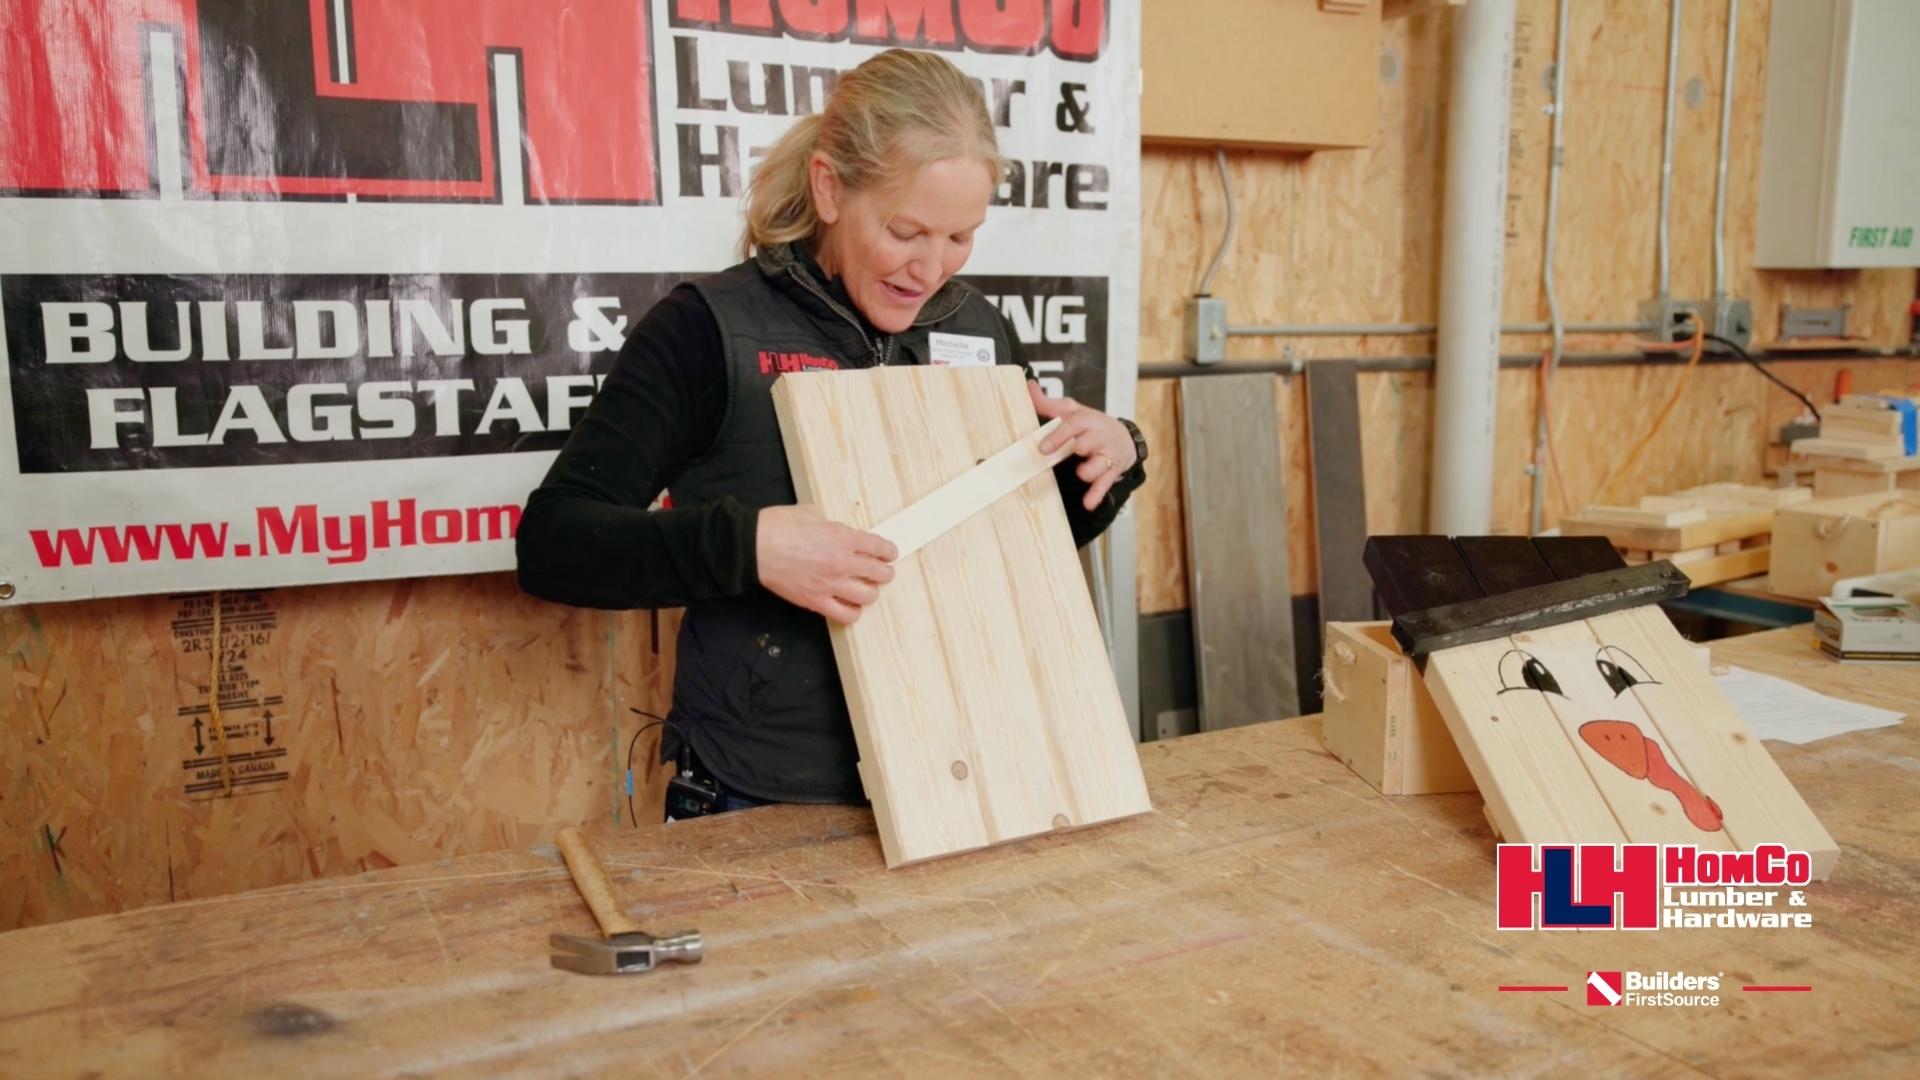
Step 2: Fix The Braces
Place the two smaller, thinner braces on the back of your wooden turkey, and nail them to secure everything.
Step 3: Fix the Pilgrim Hat
Once the base is secure, position the hat piece on the front. You can keep it straight or give it a fun slant - then secure it with nails.
Heads up! Try to avoid placing the Pilgrim hat over any knots in the wood - it’ll be harder to nail through those spots.
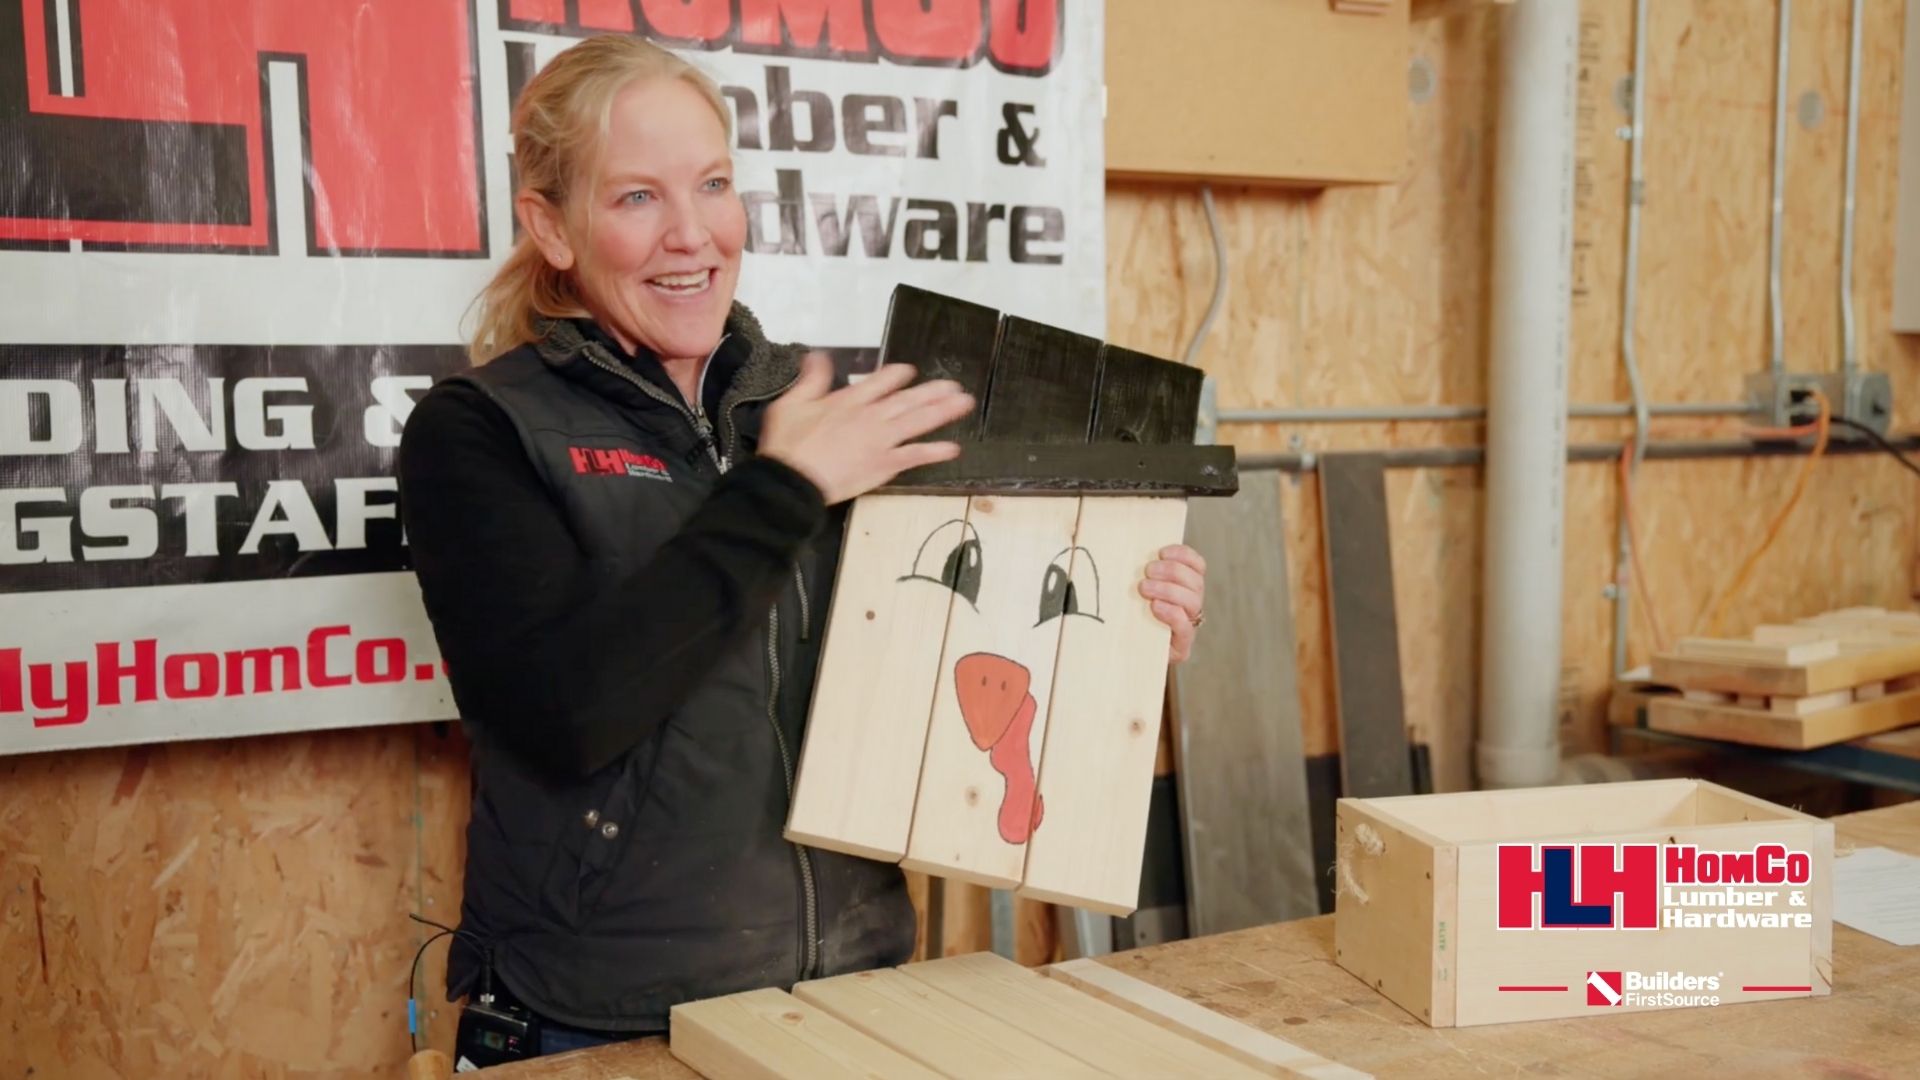
Step 4: Get Creative With Paint!
Time to make it your own! Grab your paints and brushes to bring your turkey to life. Add details like the eyes, beak, snood, and pilgrim hat buckle.
Happy Thanksgiving!
Ta-da! You’ve completed your wooden turkey - isn’t it just the cutest addition to your Thanksgiving decorations? Be proud of your DIY masterpiece! Now display your turkey proudly on your dinner table and enjoy the festivities with family and friends.
Our Wooden Turkey Project is more than just a fun holiday craft - it’s a great opportunity for kids to get creative while building important life skills. At HomCo, we know how valuable it is to nurture young minds. That’s why our Young Builders series helps kids strengthen problem-solving, creativity, organization, spatial awareness, and reasoning.
Don’t miss your chance to spark your kids' imagination! RSVP now to join us at HomCo Flagstaff on Saturday, November 15th, at 9:00 a.m. for November’s Young Builders event. We’ll provide all the materials and tools you need to bring this festive project to life.
Easy Thanksgiving DIY! Make a Wooden Pilgrim Turkey
This month’s Young Builders project is all about getting into the Thanksgiving spirit with a festive DIY wooden Pilgrim turkey! ? Using just a few wood boards, nails, and plenty of creativity, you’ll build and decorate your very own turkey that’s perfect for displaying on your table as a centerpiece or as a wall décor.
It’s a fun, hands-on project that lets kids explore simple building skills while expressing their artistic side with paint and color. Whether you make it bright and bold or keep it classic, your turkey will be a one-of-a-kind piece to show off all season long - a cheerful reminder of creativity, gratitude, and family time together!
Ready to get creative with this fun turkey project inspired by the season? Keep on reading to learn.
Project Kit Includes:
- 3 large wood boards (for the turkey’s body)
- 2 smaller, thinner wood pieces (for the back braces)
- 1 small piece for the pilgrim hat
- Hammer and nails
- Paints and brushes
Heads up! Michelle recommends wearing your best painting clothes - things might get a little messy once the paint comes out!
Step-By-Step Instructions
Step 1: Lay Out Your Boards
Start with the three large wooden boards lined up side-by-side. This will form the body of your turkey.
Step 2: Fix The Braces
Place the two smaller, thinner braces on the back of your wooden turkey, and nail them to secure everything.
Step 3: Fix the Pilgrim Hat
Once the base is secure, position the hat piece on the front. You can keep it straight or give it a fun slant - then secure it with nails.
Heads up! Try to avoid placing the Pilgrim hat over any knots in the wood - it’ll be harder to nail through those spots.
Step 4: Get Creative With Paint!
Time to make it your own! Grab your paints and brushes to bring your turkey to life. Add details like the eyes, beak, snood, and pilgrim hat buckle.
Happy Thanksgiving!
Ta-da! You’ve completed your wooden turkey - isn’t it just the cutest addition to your Thanksgiving decorations? Be proud of your DIY masterpiece! Now display your turkey proudly on your dinner table and enjoy the festivities with family and friends.
Our Wooden Turkey Project is more than just a fun holiday craft - it’s a great opportunity for kids to get creative while building important life skills. At HomCo, we know how valuable it is to nurture young minds. That’s why our Young Builders series helps kids strengthen problem-solving, creativity, organization, spatial awareness, and reasoning.
Don’t miss your chance to spark your kids' imagination! RSVP now to join us at HomCo Flagstaff on Saturday, November 15th, at 9:00 a.m. for November’s Young Builders event. We’ll provide all the materials and tools you need to bring this festive project to life.