Young Builders Project: Wooden Christmas Tree
The holiday season is the perfect time to channel your creativity into festive crafts, and our Young Builders' Wooden Christmas Tree project is the ideal way to celebrate. Join us on December 20th for a fun and free activity for kids! This activity provides a hands-on experience for young builders and their families.
With a few simple materials and easy-to-follow steps, you'll create a charming Christmas tree decoration to display for your friends and family!
Project Kit Includes:
-
Long piece of wood: for the stem/trunk
-
Shorter piece of wood: for the base
-
Six wooden tree pieces: in graduated sizes from largest (bottom) to smallest (top)
-
Six finished nails: one for each tree piece
-
Two larger nails: for attaching the base
Step-By-Step Instructions
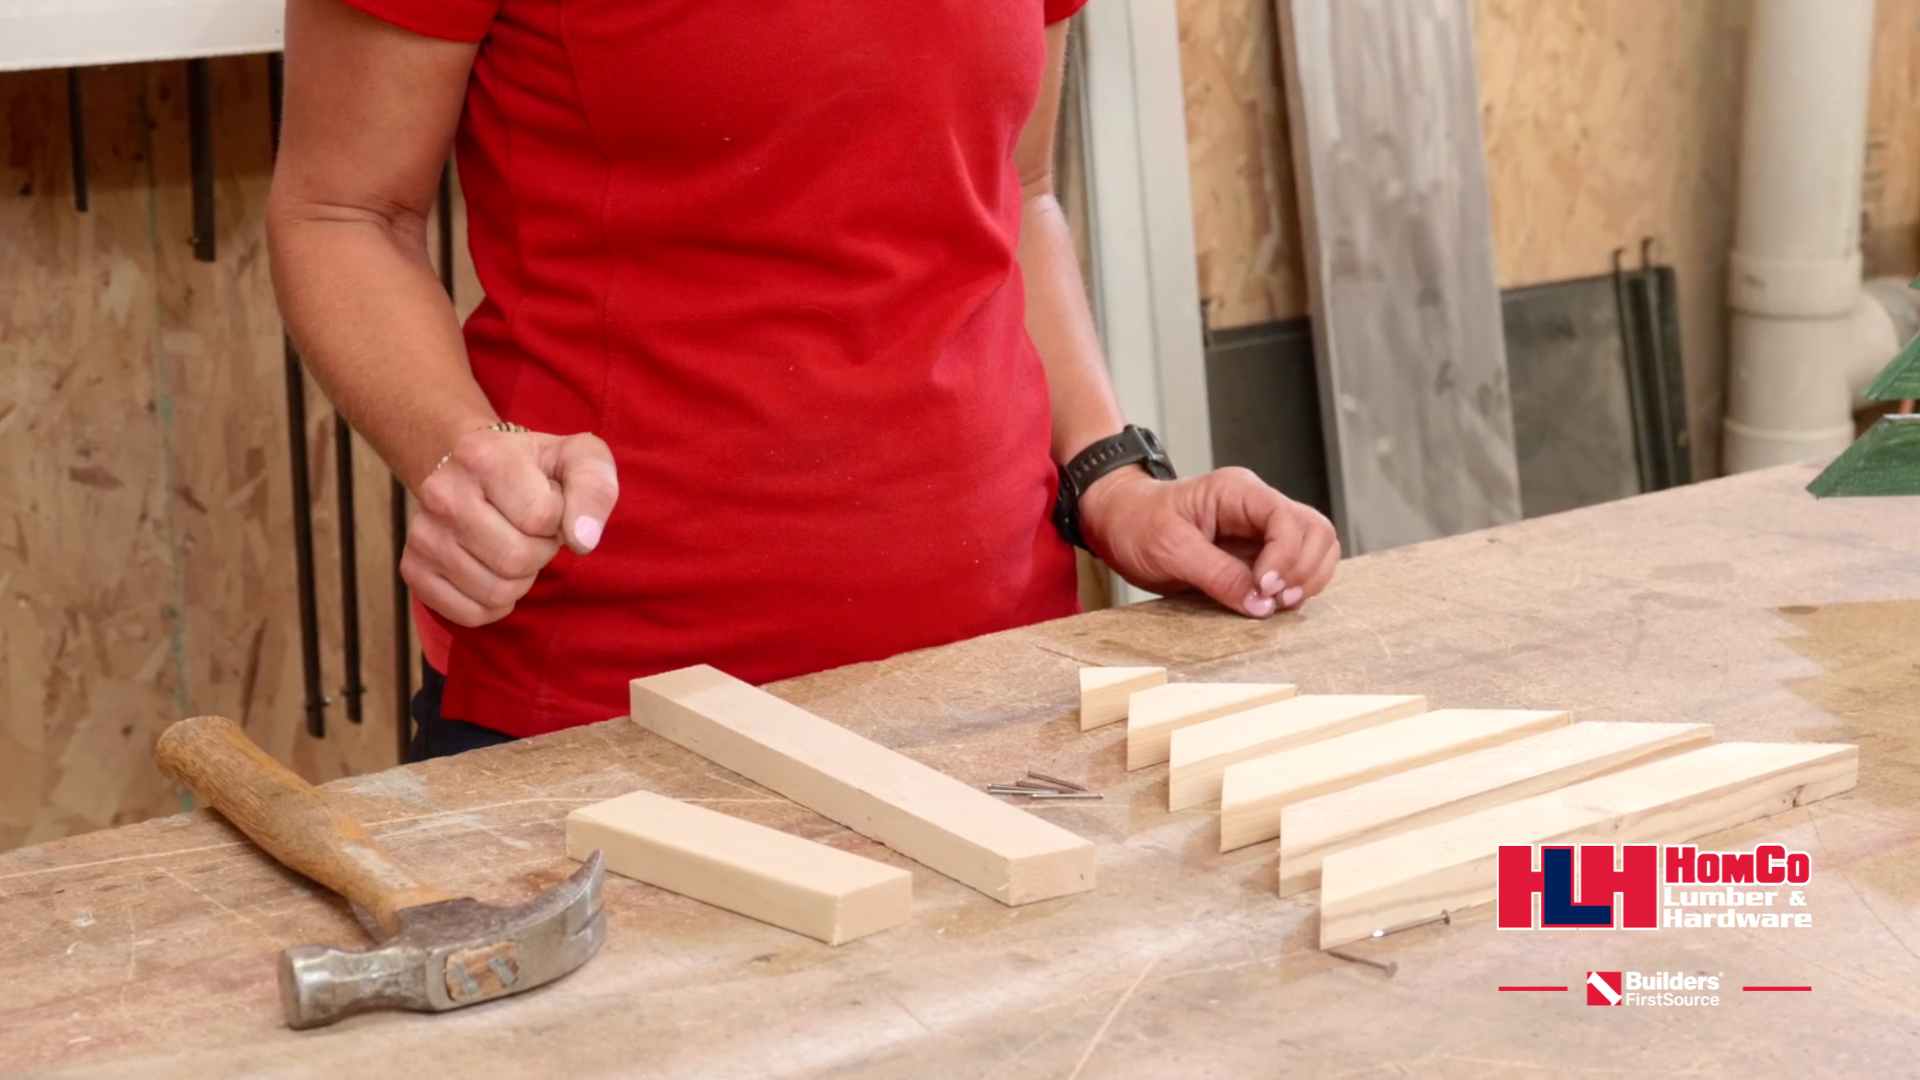
Step 1: Prepare your materials
Lay out all six tree pieces in order from largest to smallest. Set aside the two larger nails for the base. Lay out all six tree pieces in order from largest to smallest. Set aside the two larger nails for the base.
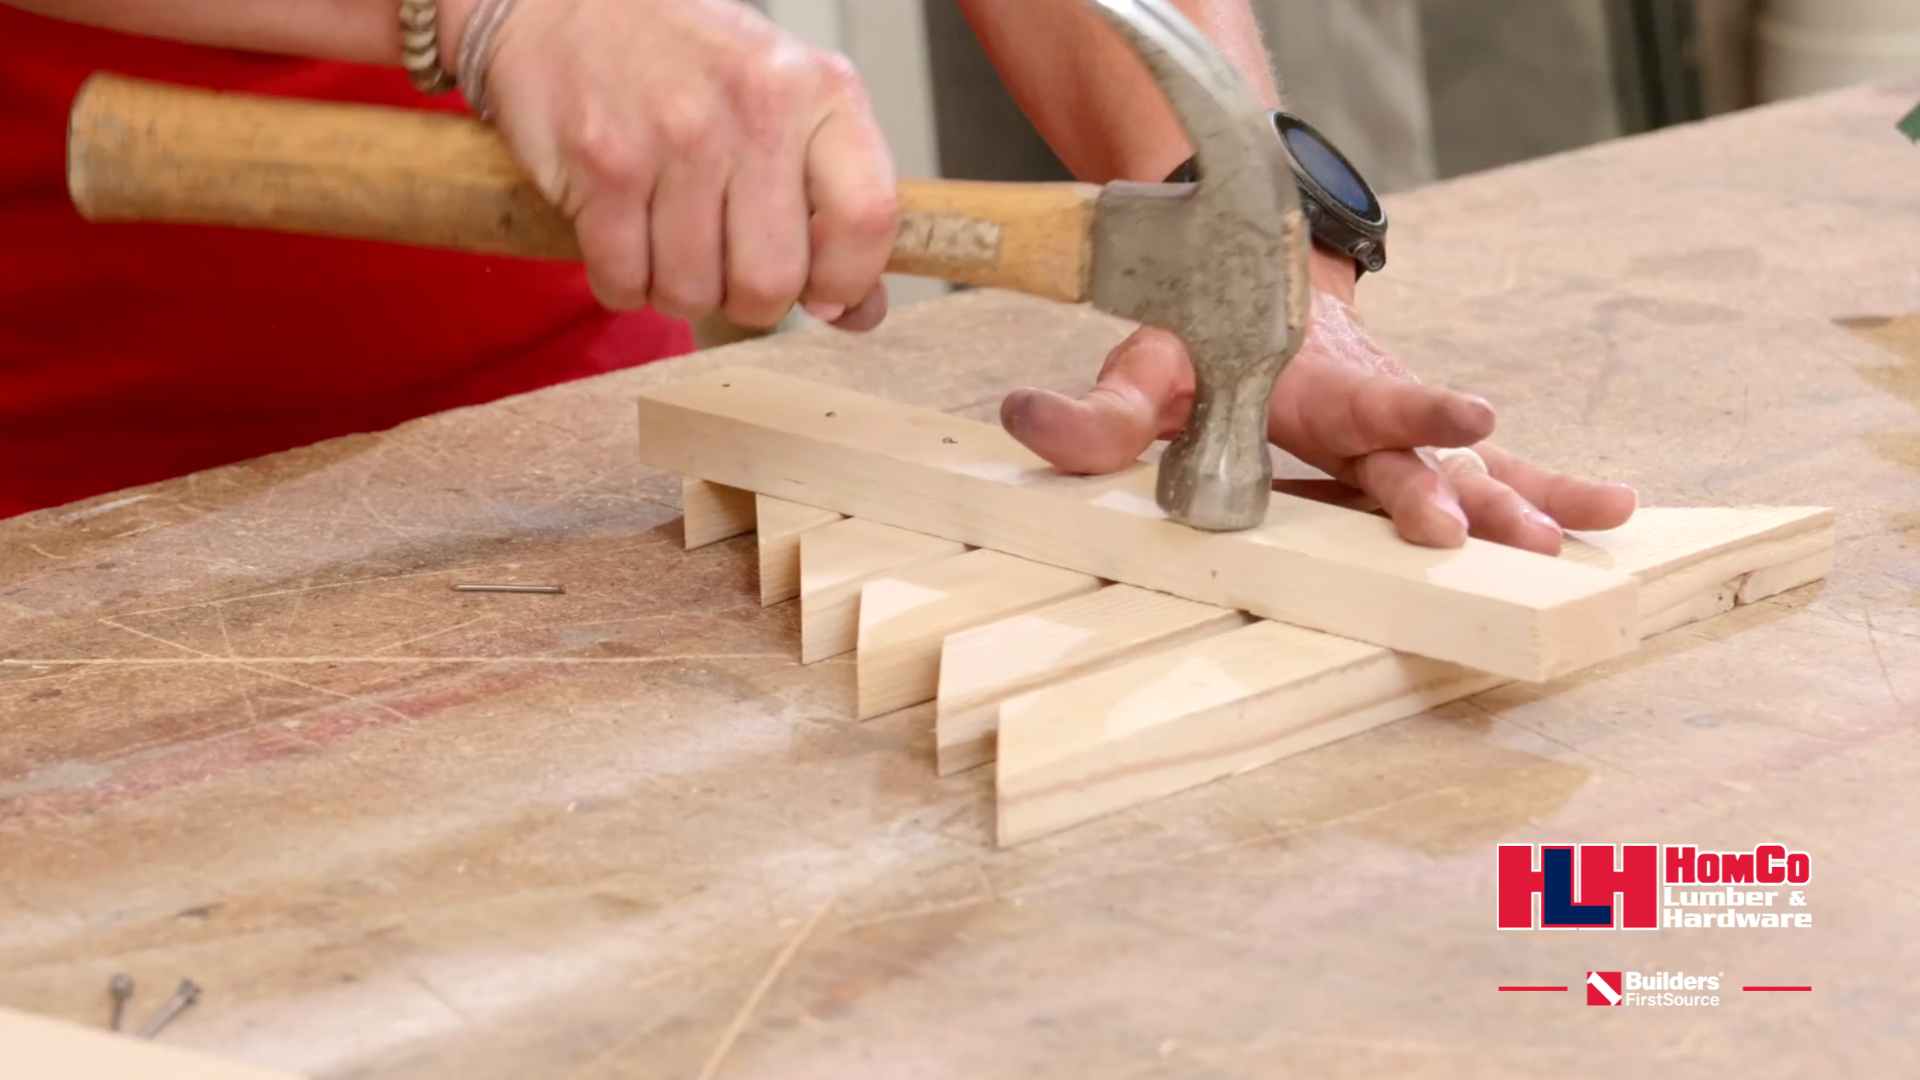
Step 2: Attach the Stem to the Back of the Tree
Starting with the largest piece at the bottom, hammer one finished nail through each piece into the stem. Keep everything centered so your tree stays straight!
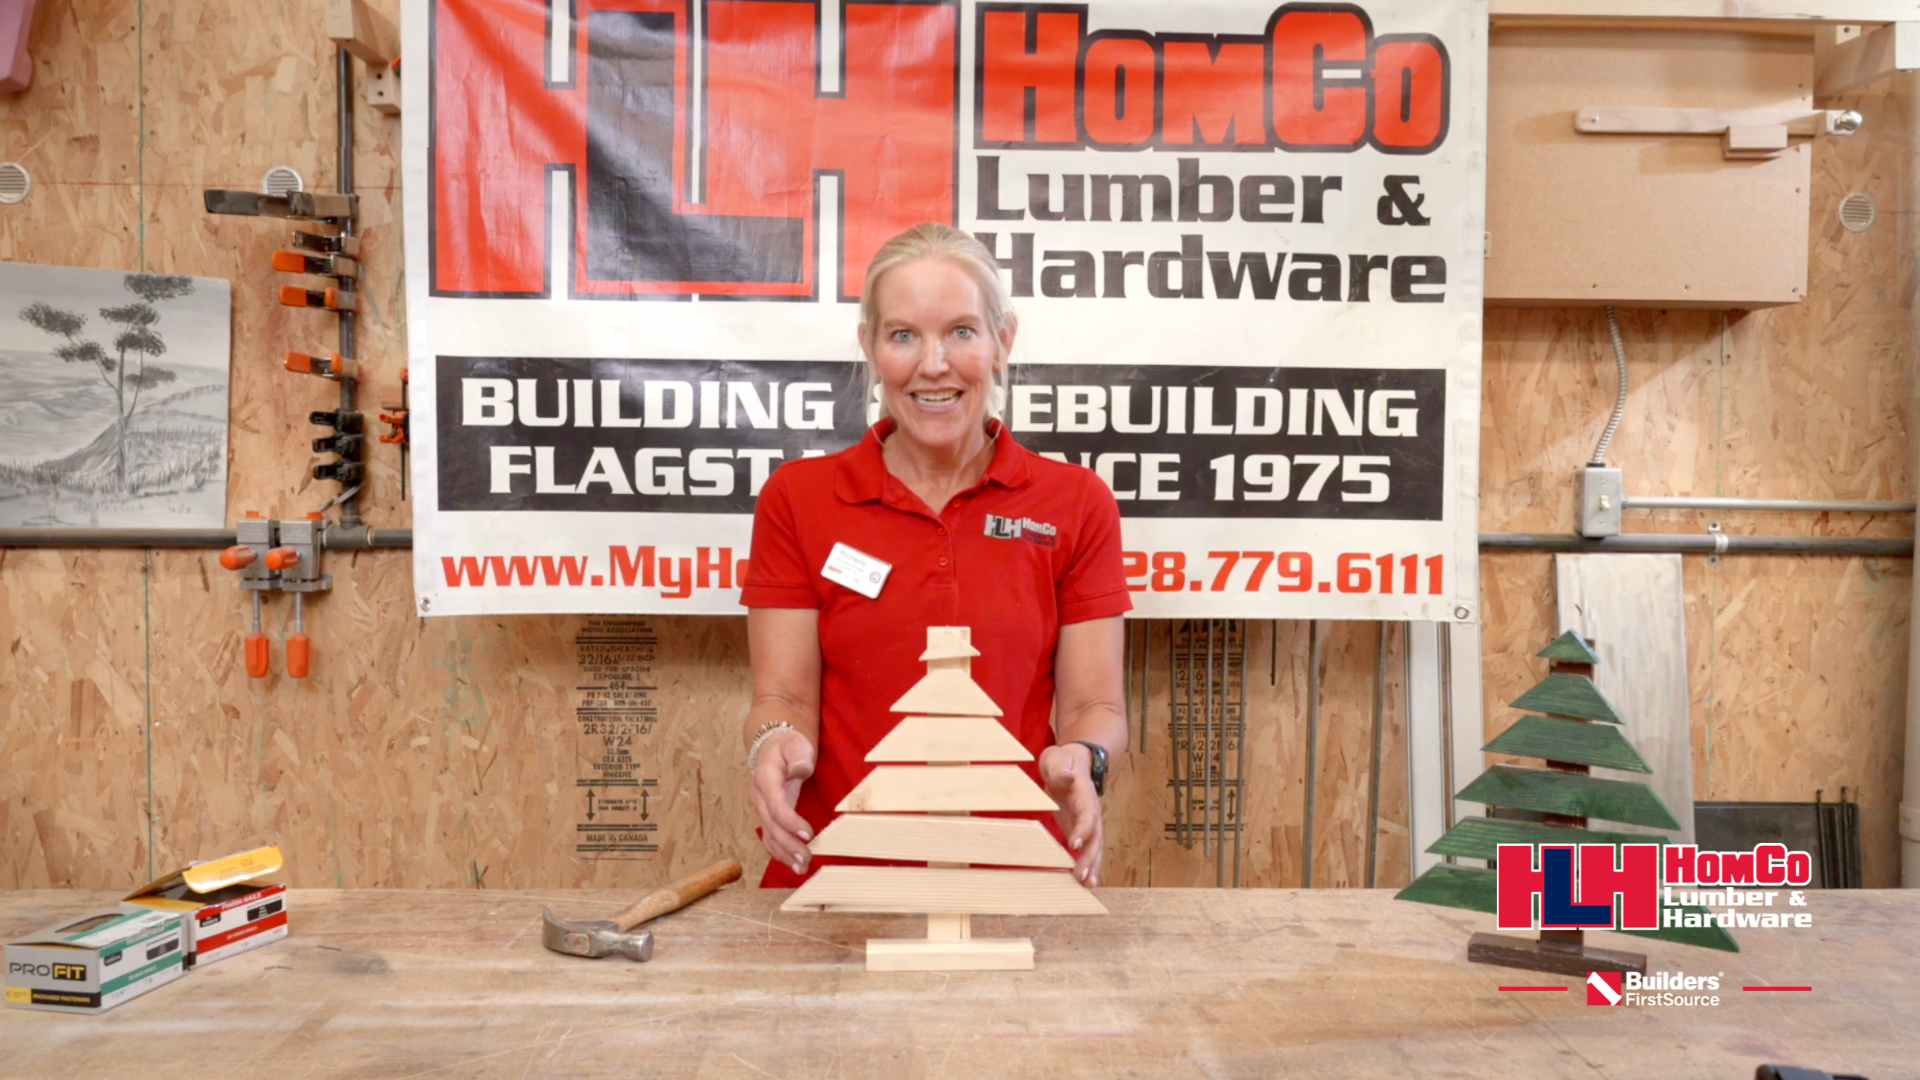
Step 3: Attach the Base
Place the base piece at the front (not on top) of the stem. This will be more stable! Pre-start the two larger nails through the back, then hammer them through to secure the base firmly.

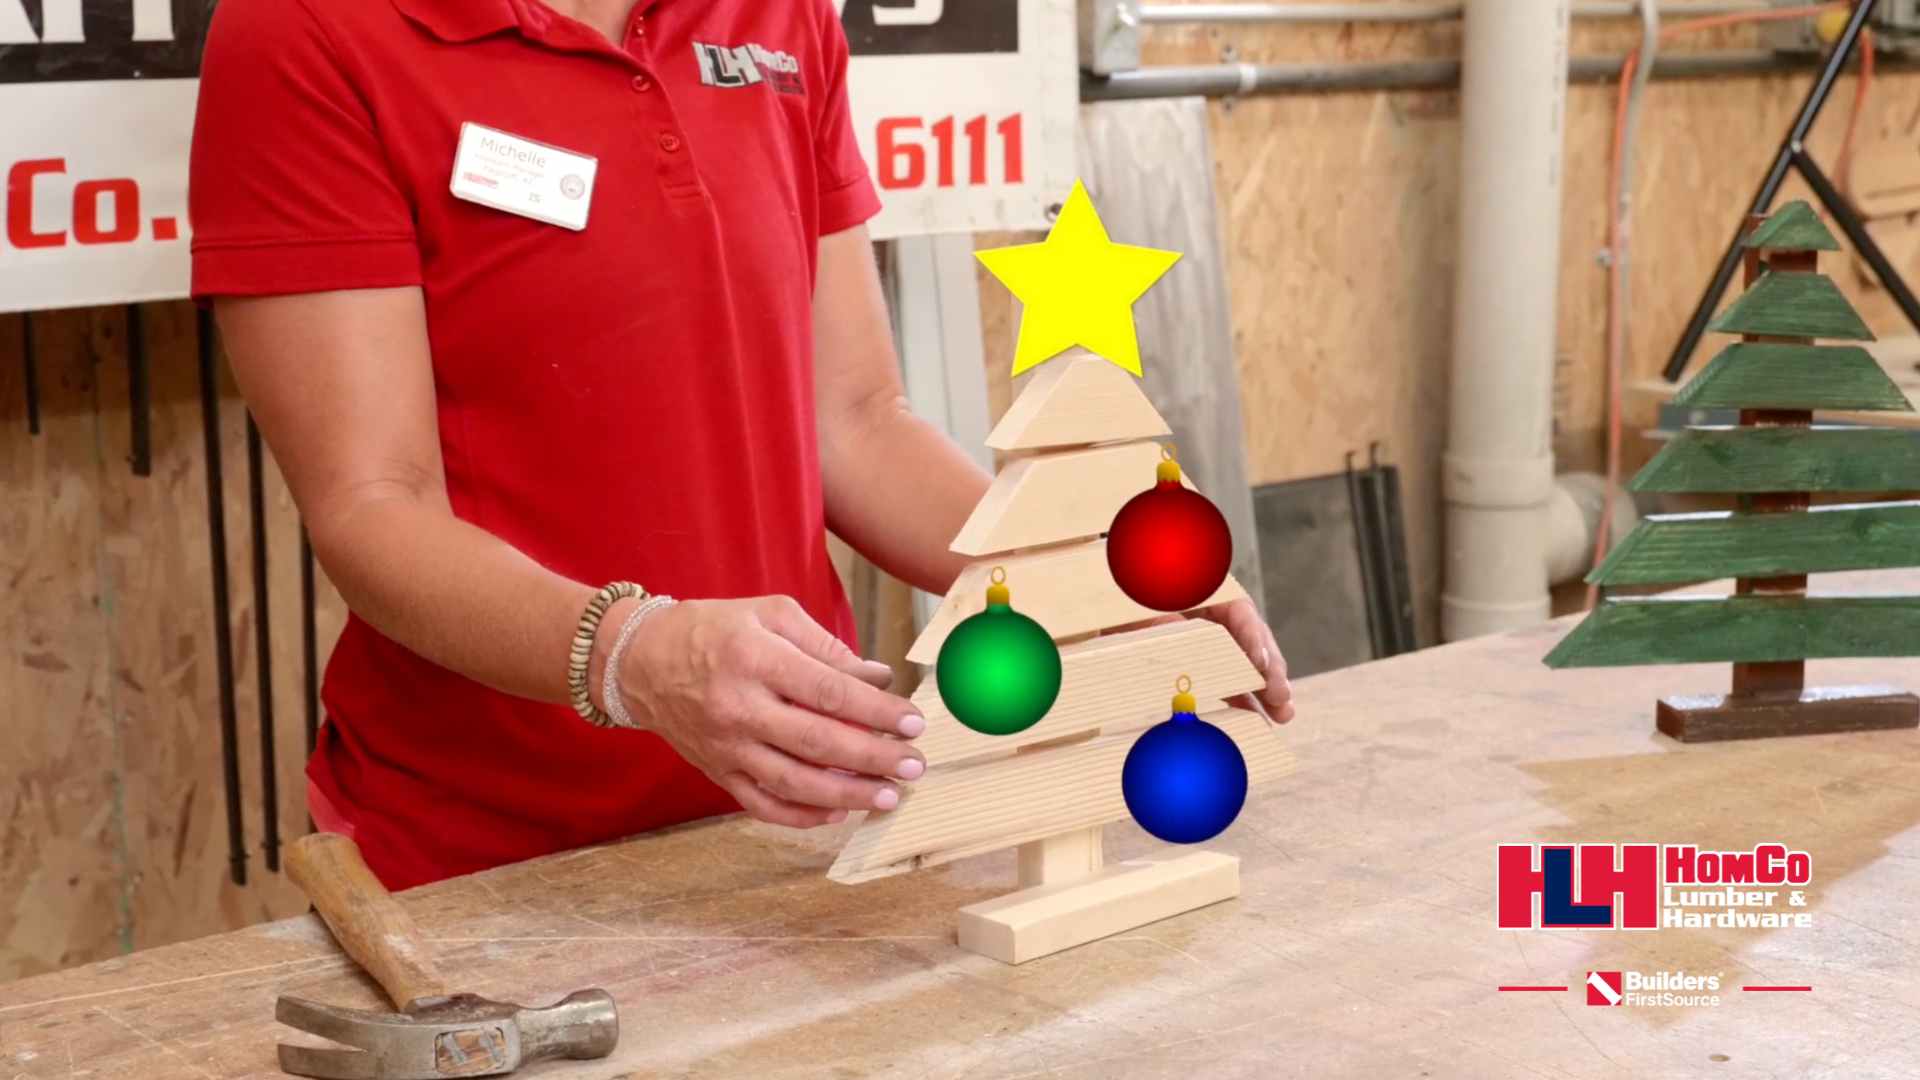
Step 4: Decorate!
Your Christmas tree is finished! Decorate however you want. Paint, stickers, maybe even hang real ornaments on it.
Join Us for This Month's Young Builder Event!
Don't miss this month's Young Builders event, happening on the third Saturday of December! This family-friendly activity is perfect for getting into the holiday spirit while learning new skills and letting your creativity shine. From hammering together your tree to customizing it with festive decorations, this project is sure to bring smiles to builders of all ages.
We'll provide all the materials and guidance needed to build your very own Christmas tree.
Can't make it to the event? Just stop by our service counter and ask for a kit to build at home. We can't wait to see you at HomCo Lumber & Hardware for this fun and festive event! Have more questions? Click here to contact us today!
See also:
Young Builders Project: Wooden Christmas Tree
The holiday season is the perfect time to channel your creativity into festive crafts, and our Young Builders' Wooden Christmas Tree project is the ideal way to celebrate. Join us on December 20th for a fun and free activity for kids! This activity provides a hands-on experience for young builders and their families.
With a few simple materials and easy-to-follow steps, you'll create a charming Christmas tree decoration to display for your friends and family!
Project Kit Includes:
-
Long piece of wood: for the stem/trunk
-
Shorter piece of wood: for the base
-
Six wooden tree pieces: in graduated sizes from largest (bottom) to smallest (top)
-
Six finished nails: one for each tree piece
-
Two larger nails: for attaching the base
Step-By-Step Instructions
Step 1: Prepare your materials
Lay out all six tree pieces in order from largest to smallest. Set aside the two larger nails for the base. Lay out all six tree pieces in order from largest to smallest. Set aside the two larger nails for the base.
Step 2: Attach the Stem to the Back of the Tree
Starting with the largest piece at the bottom, hammer one finished nail through each piece into the stem. Keep everything centered so your tree stays straight!
Step 3: Attach the Base
Place the base piece at the front (not on top) of the stem. This will be more stable! Pre-start the two larger nails through the back, then hammer them through to secure the base firmly.
Step 4: Decorate!
Your Christmas tree is finished! Decorate however you want. Paint, stickers, maybe even hang real ornaments on it.
Join Us for This Month's Young Builder Event!
Don't miss this month's Young Builders event, happening on the third Saturday of December! This family-friendly activity is perfect for getting into the holiday spirit while learning new skills and letting your creativity shine. From hammering together your tree to customizing it with festive decorations, this project is sure to bring smiles to builders of all ages.
We'll provide all the materials and guidance needed to build your very own Christmas tree.
Can't make it to the event? Just stop by our service counter and ask for a kit to build at home. We can't wait to see you at HomCo Lumber & Hardware for this fun and festive event! Have more questions? Click here to contact us today!
See also: