Young Builders Project: Custom Mug Stand
This month’s Young Builders project is all about making something handy for the kitchen—a DIY mug stand you can build and customize yourself! With just a few wooden blocks, hooks, and a little imagination, you’ll end up with a stand that keeps your favorite mugs easy to reach.
It’s a simple and fun project for kids to tackle, and it’s easy to make your own with paint, stain, or even by leaving the wood natural. Whether you’re keeping it for your family, adding it to a coffee station, or giving it as a thoughtful handmade gift, this mug stand is both practical and personal.
Project Kit Includes:
- 1 Large Wood Block (base)
- 1 Smaller Wood Block (middle support)
- 1 Stand Wood Piece (vertical post)
- 3–4 Cupped Hooks (for hanging mugs)
- 1 Pencil
- 1 Ruler
- 1 Glue Gun or Wood Glue
- Nails + Hammer
- Drill (for pre-drilling hook holes)
- Paint or Stain (for decorating)
Step-By-Step Instructions
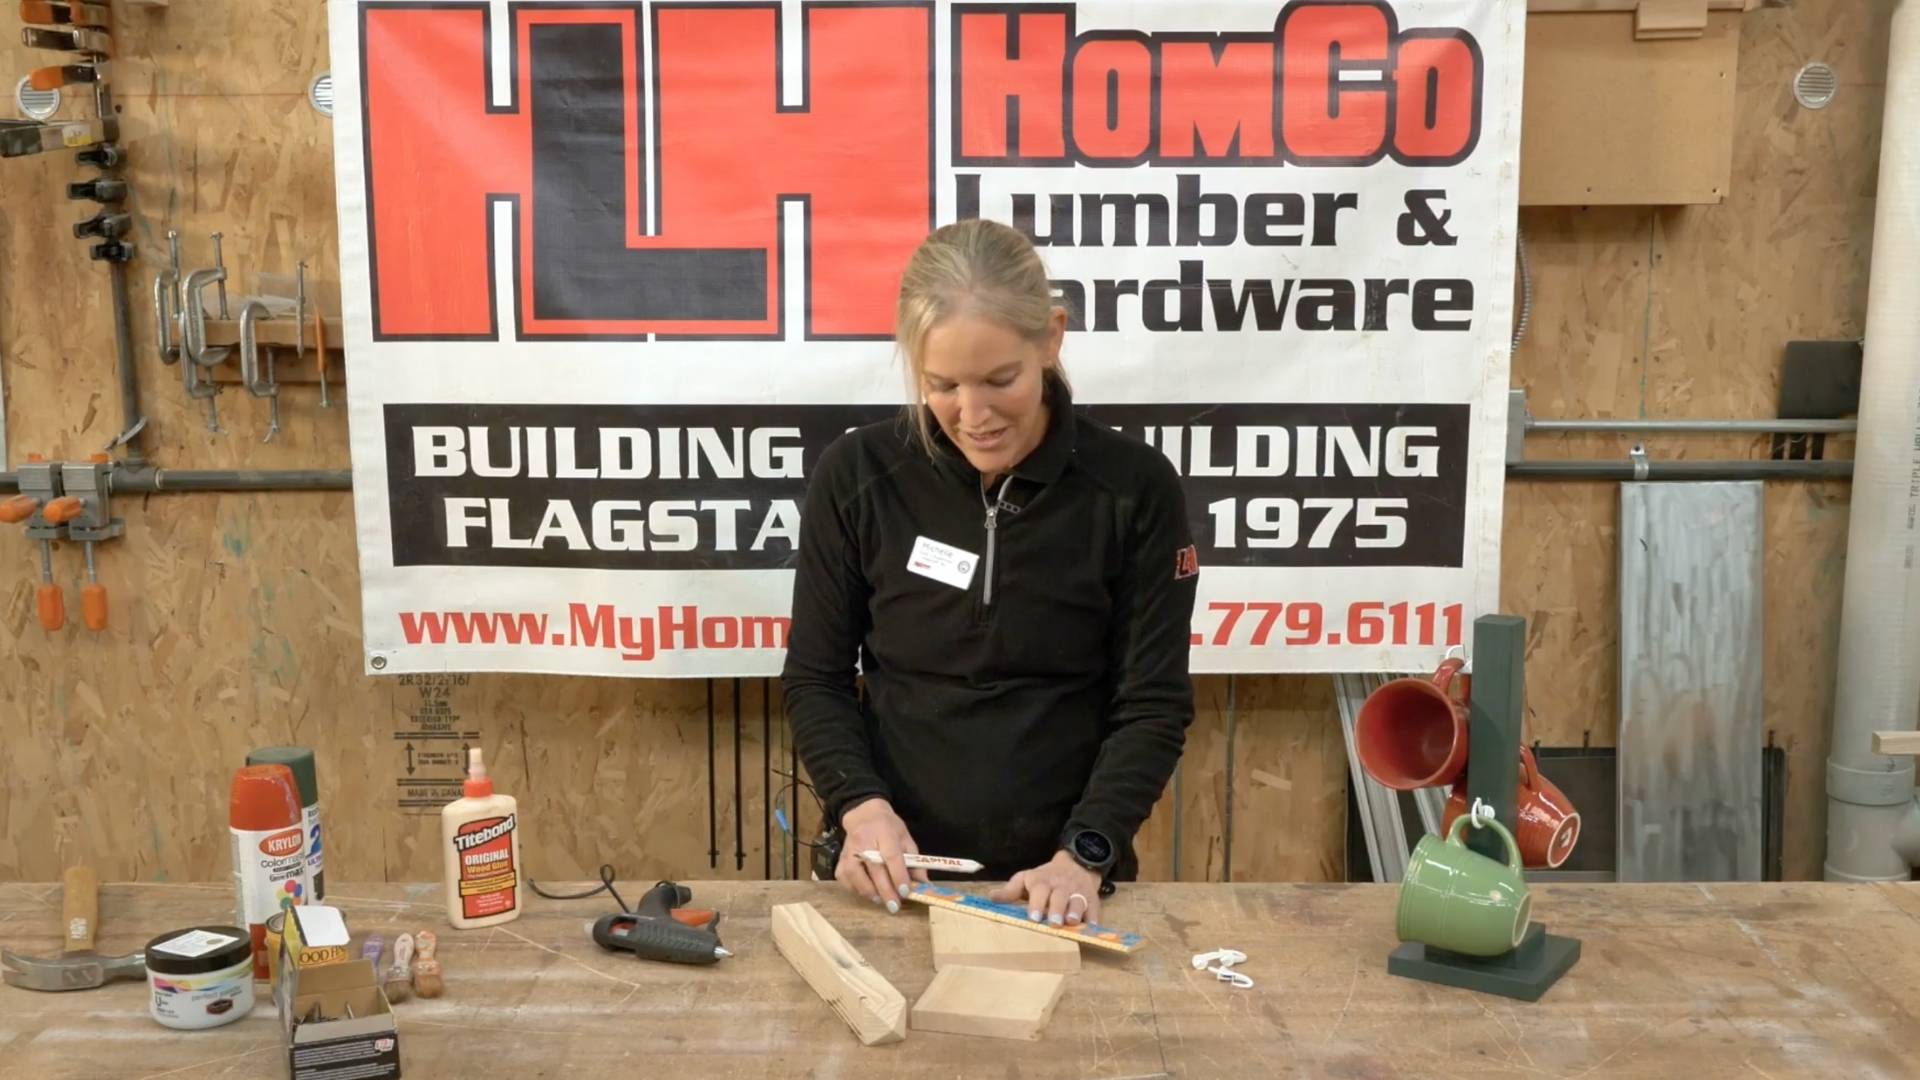
Step 1: Create a Center Spot
Use your pencil and ruler to draw lines across both the larger and smaller wood blocks to find the exact center spot. This will help you line everything up evenly.
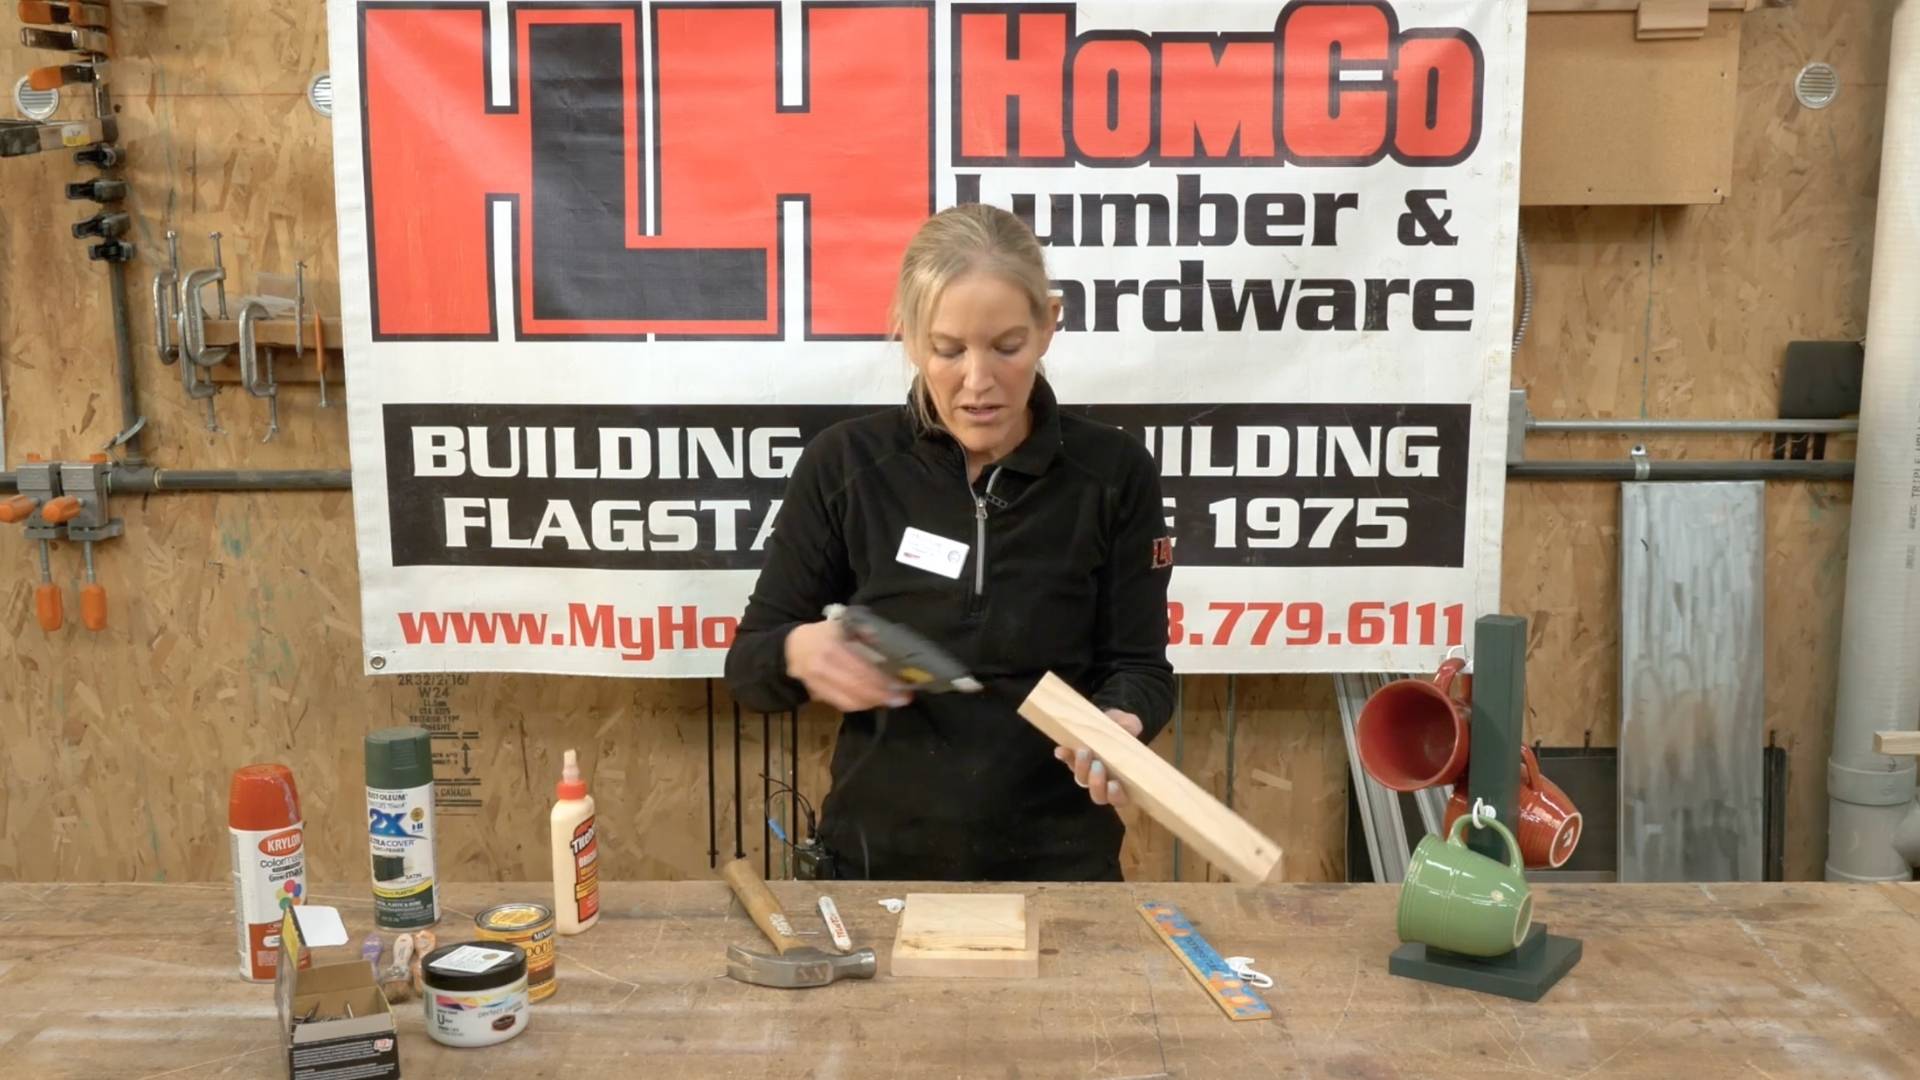
Step 2: Attach the Bottom Block and the Center Square Together
Apply wood glue (or hot glue) to the bottom of the stand and press it firmly onto the center spot of the smaller block. Let it dry completely before moving on.
Step 3: Nailing the Stand
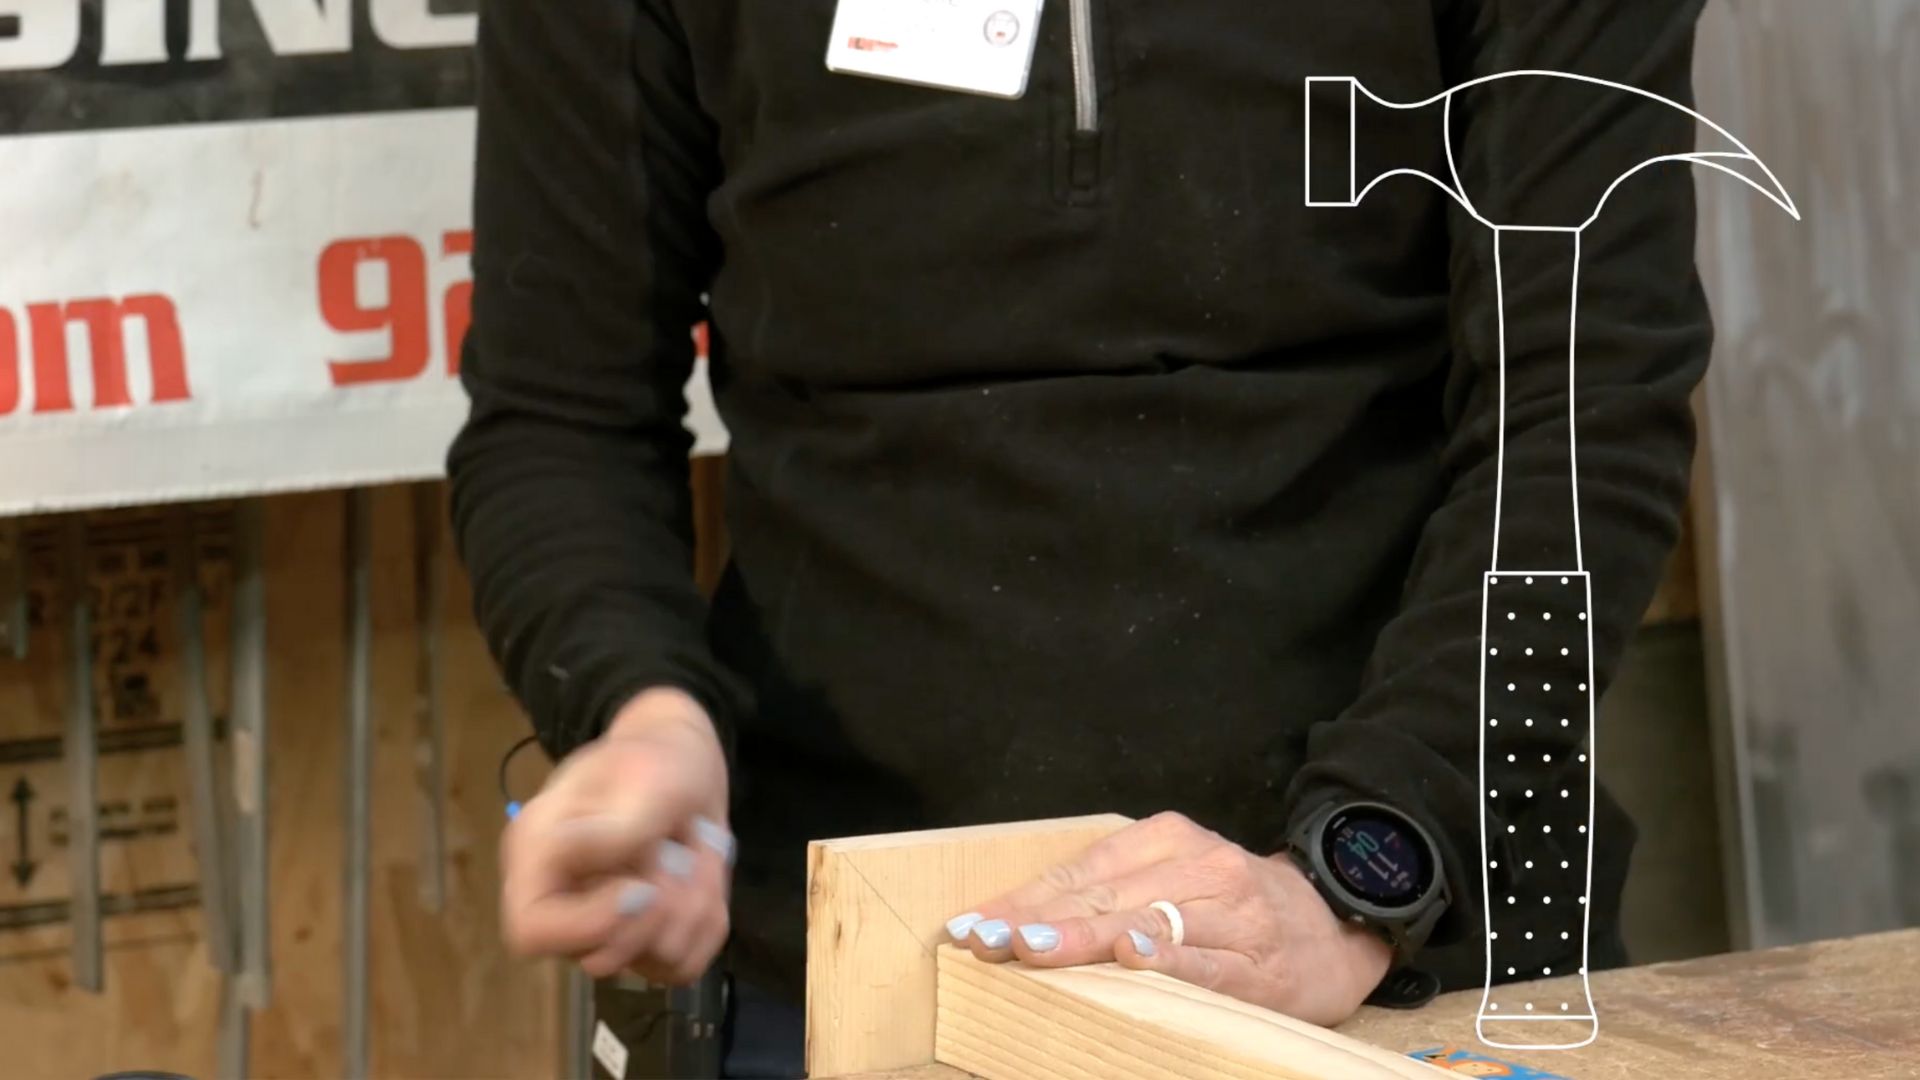
Once the glue holding the stand and smaller block is dry, place the project on the edge of a sturdy table and nail through the pre-drilled holes to secure them together.
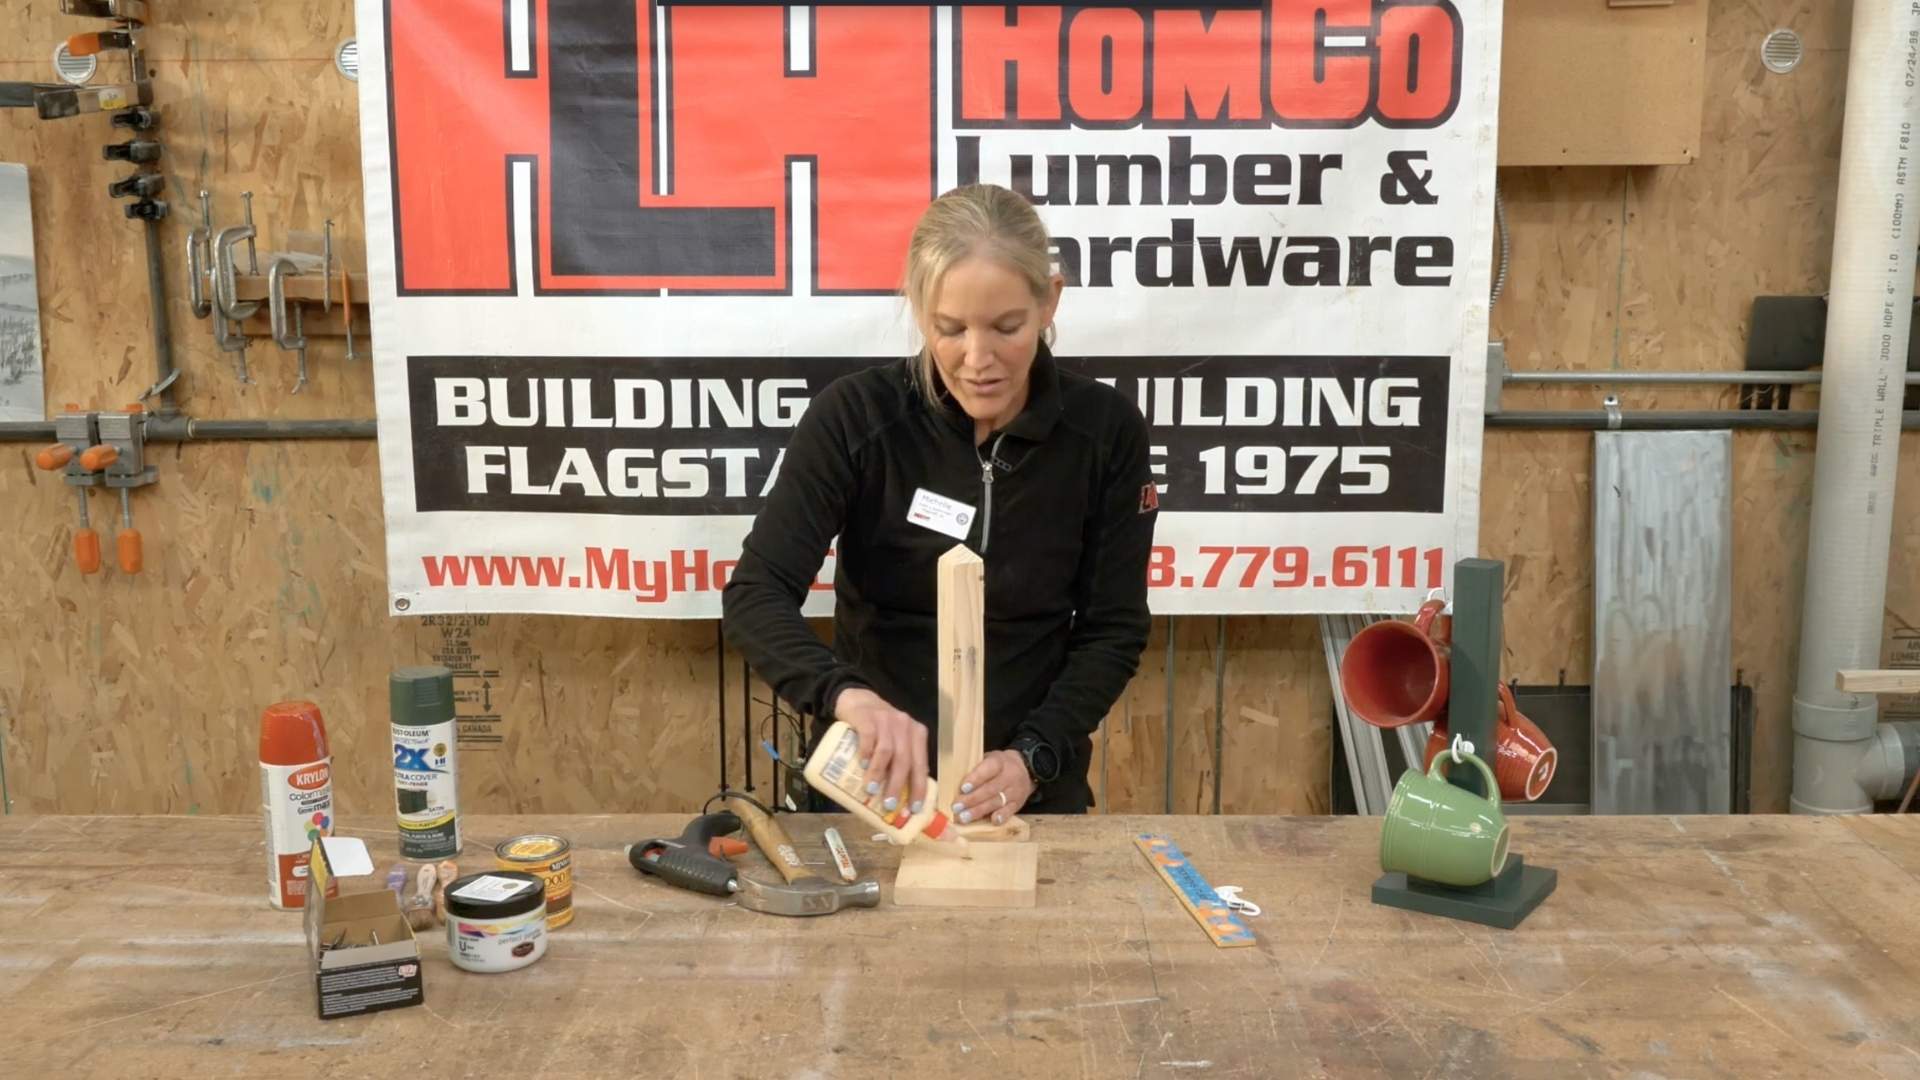
Step 4: Attaching the Final Base
Add glue to the bottom of your stand (with the smaller block attached) and press it firmly onto the larger block (the base). Allow the glue to dry completely so everything is solid before continuing.
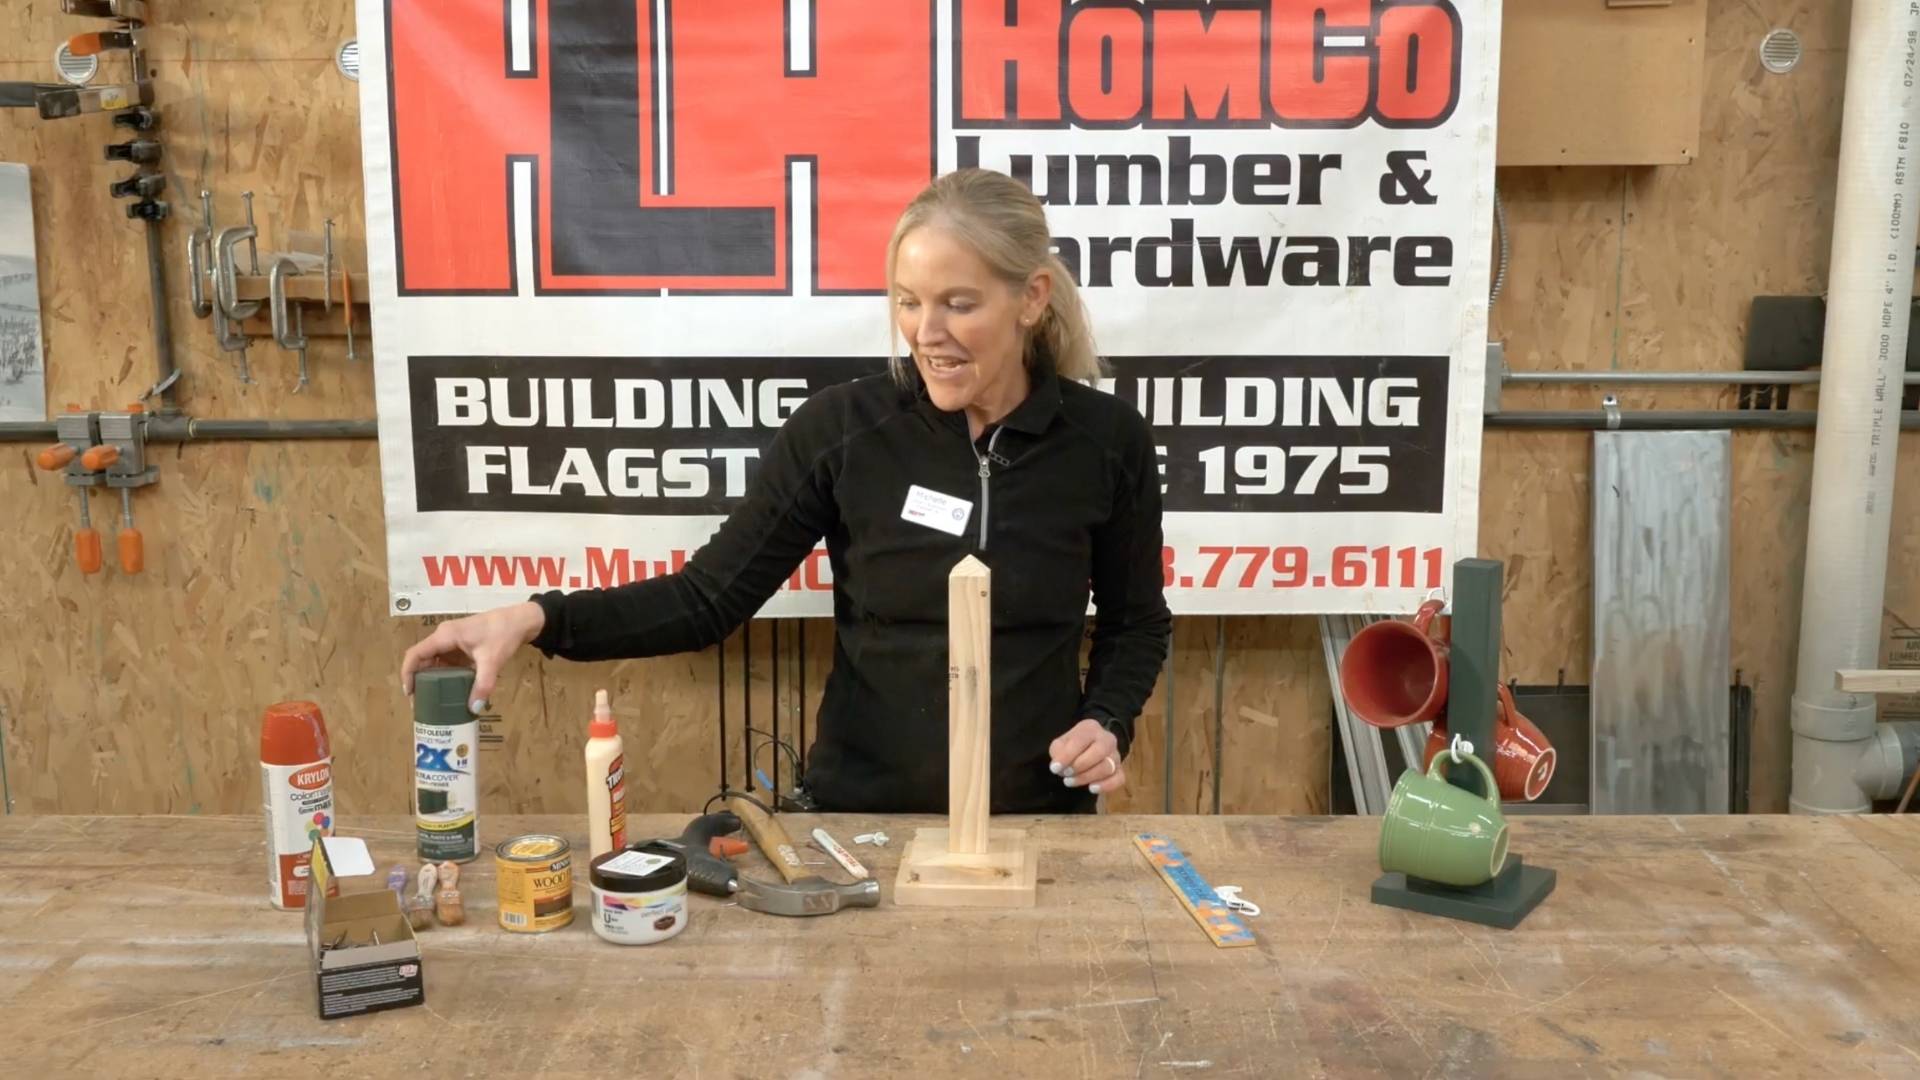
Step 5: Painting and Personalizing
Now for the fun part: make your mug stand your own! You can paint it with regular paint, spray paint, or wood stain - or leave it natural for a simple, classic look. Once it’s dry, measure and mark where you want the hooks to go, keeping them evenly spaced so your mugs will hang neatly.
Step 6: Attaching the Hooks
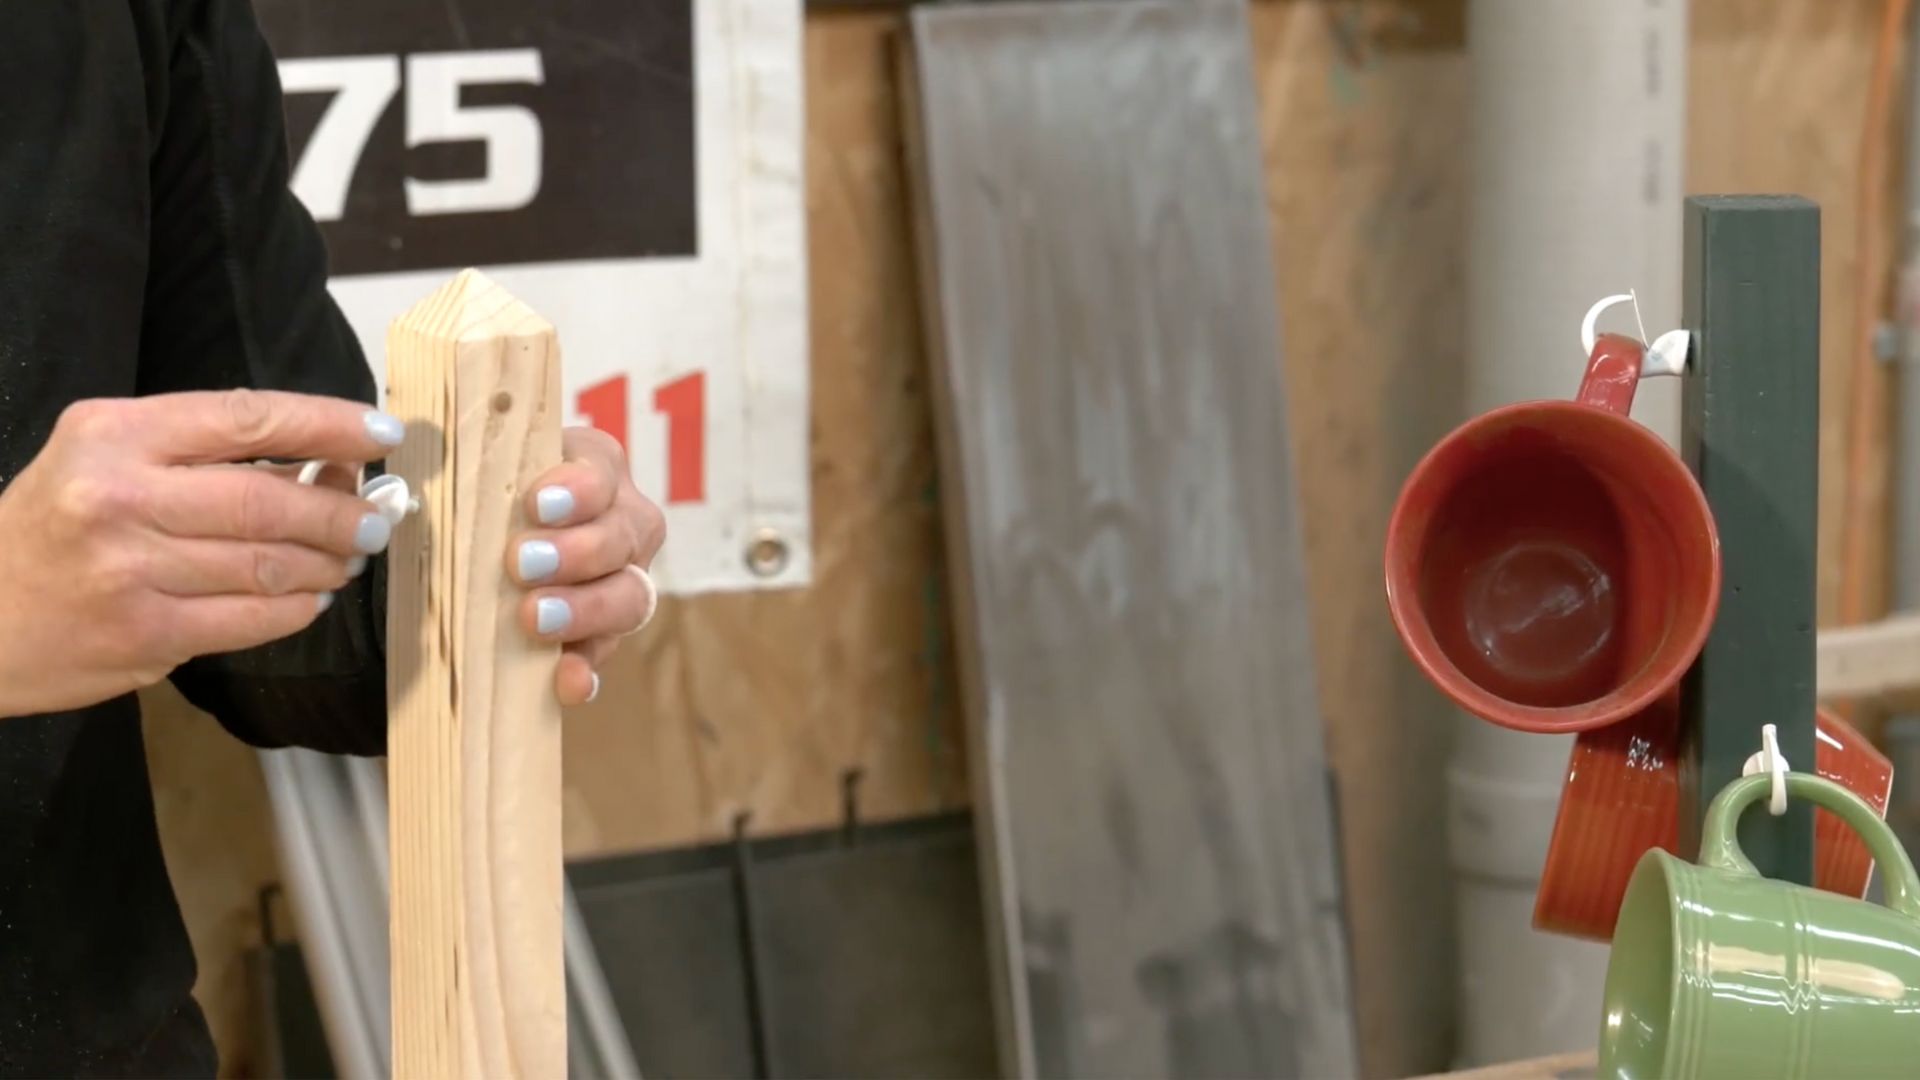
Mark the spots for each hook, making sure they’re spaced far enough apart for mugs of different sizes. With an adult’s help, pre-drill small holes (this makes it easier), then screw in the cupped hooks securely. Once the hooks are in place, your mug stand is ready to use and show off!
Join Us for Young Builders!
Looking for something new to do with your kids besides the same old weekend routine in Flagstaff? Our Young Builders workshops are the perfect way to spark creativity, build confidence, and send your kids home with a project they’ll be proud of. Each month features a brand-new DIY activity—like this mug stand—that’s fun, practical, and totally customizable.
Pick up this month’s mug stand project at HomCo, join us in-store for the workshop, and don’t forget to share your finished creations with us! Whether your stand is bright and colorful, rustic and stained, or gifted to someone special, we love seeing every build.
And keep an eye out: next month’s project is coming soon, and we can’t wait to build with you!
See also:

