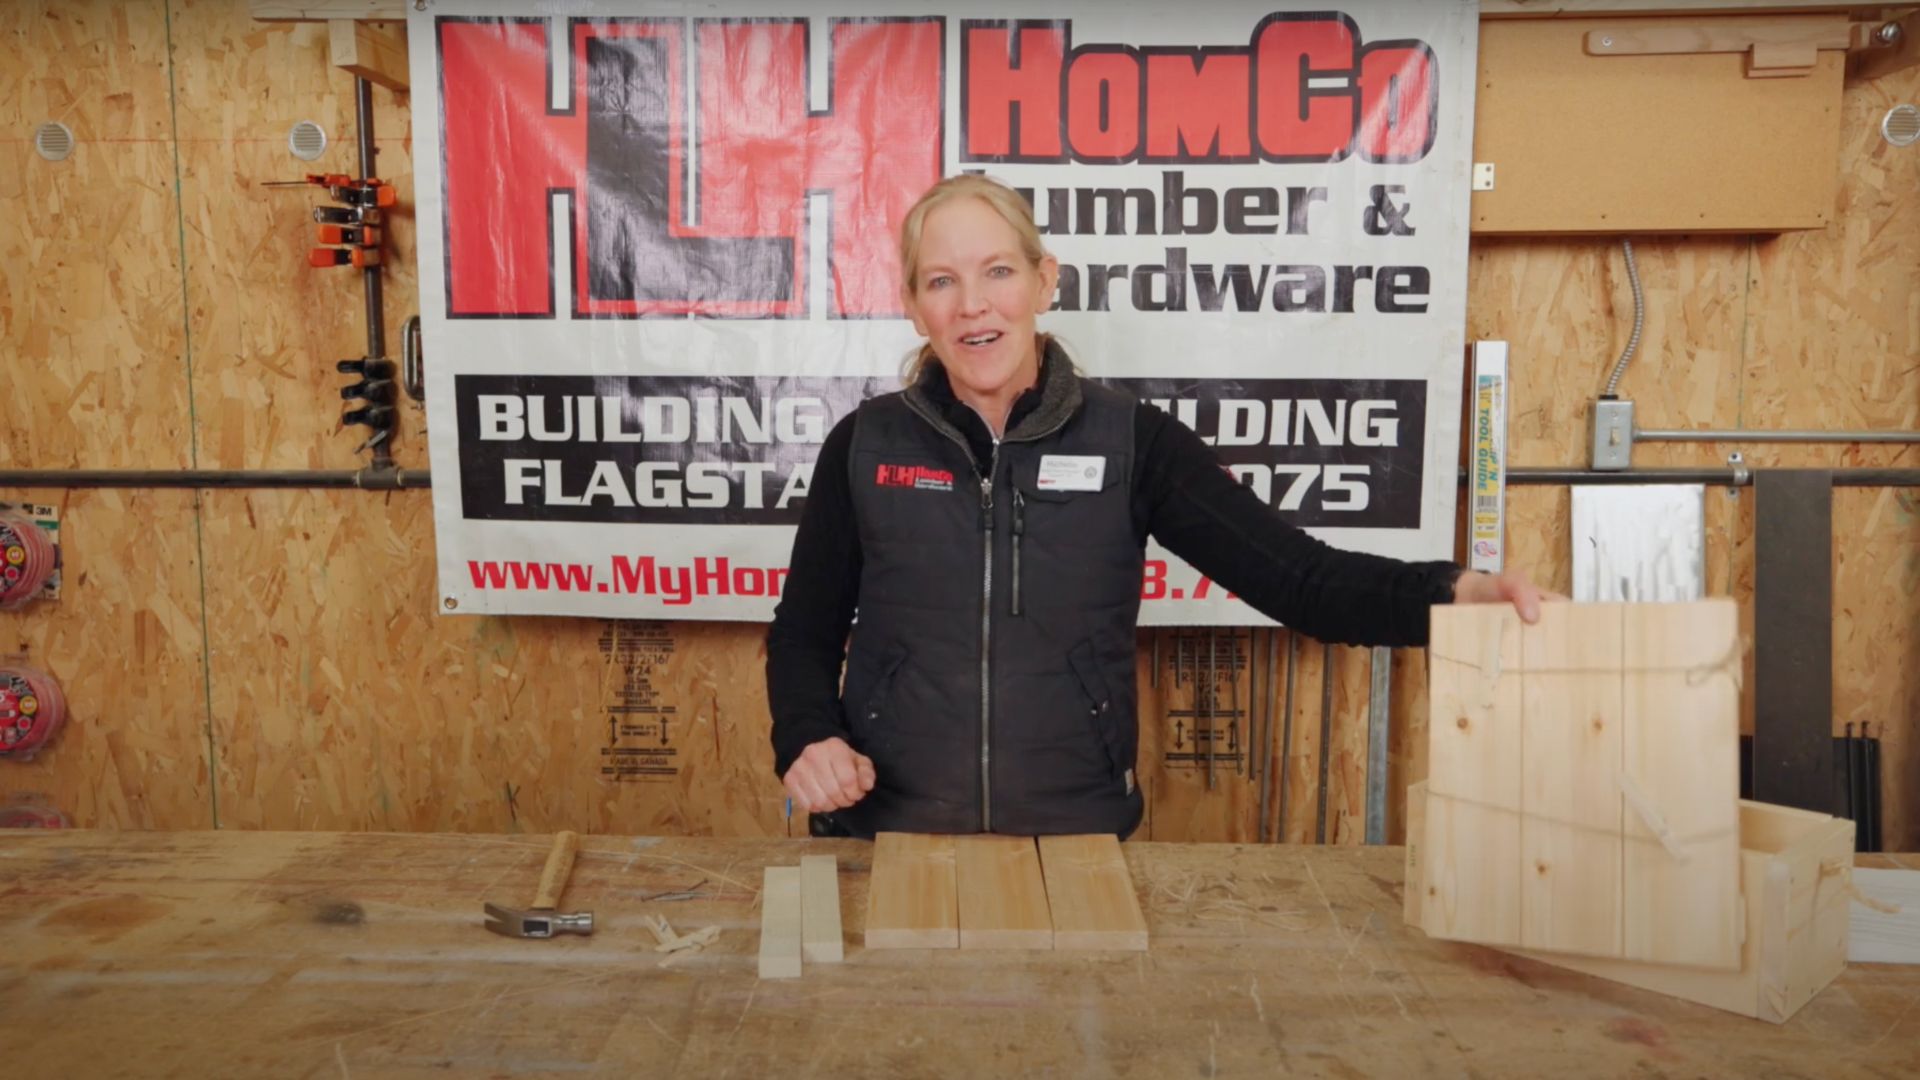
Young Builders Project: Message Board
This month’s Young Builders project is all about getting the message accross... with a handmade message board you can use to hang your favorite photos, notes, or artwork!
Perfect for back-to-school season, this simple wood project is fun for kids and easy to personalize. Whether you’re adding it to your room, giving it as a gift, or creating a custom command center for the family, this board is a great way to show off your personality.
Project Kit Includes:
- 3 longer pieces of wood (for the front)
- 2 shorter pieces of wood (for bracing the back)
- Hammer and nails
- Twine
- Clothespins
- Optional: Picture hanging hardware (if you’d like to mount it on a wall)
Step-By-Step Instructions
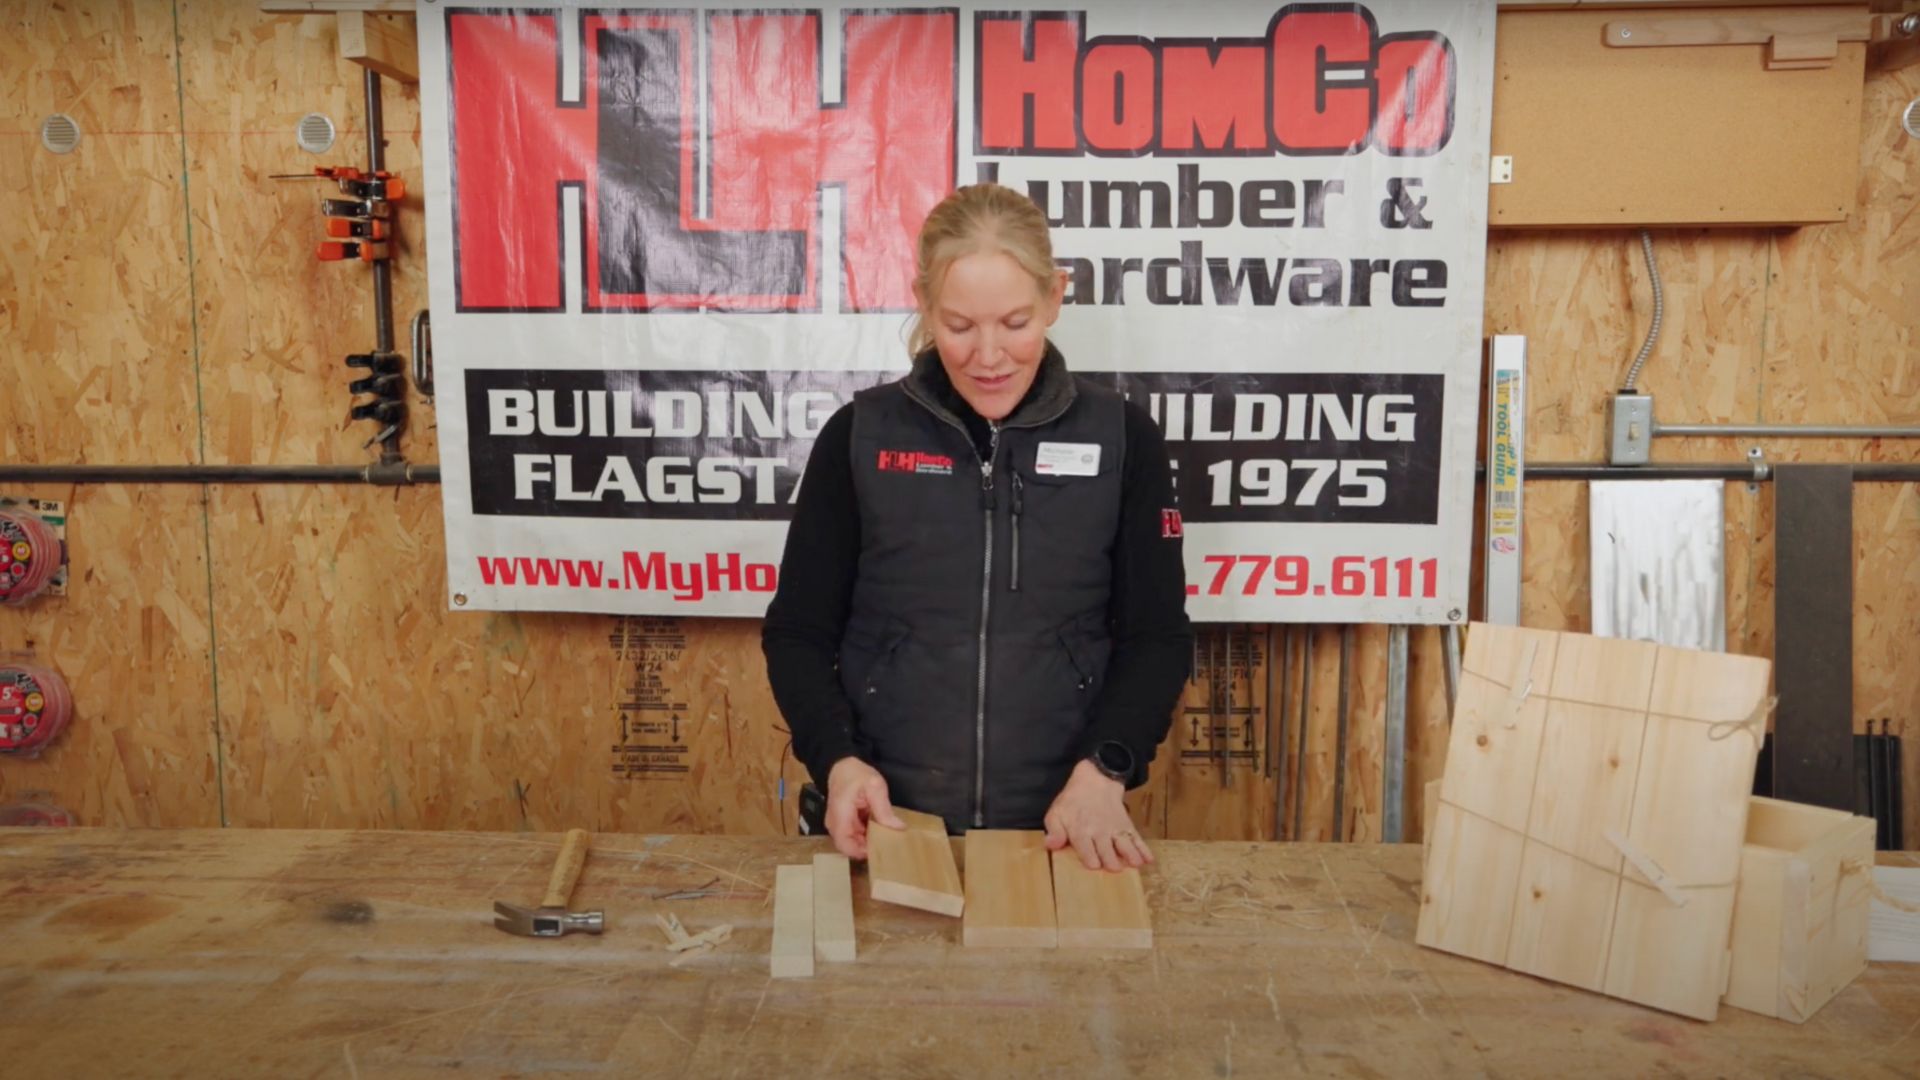
Step 1: Line Up Your Wood
Place your three longer wooden slats side by side, as evenly as possible. These will form the front of your message board.
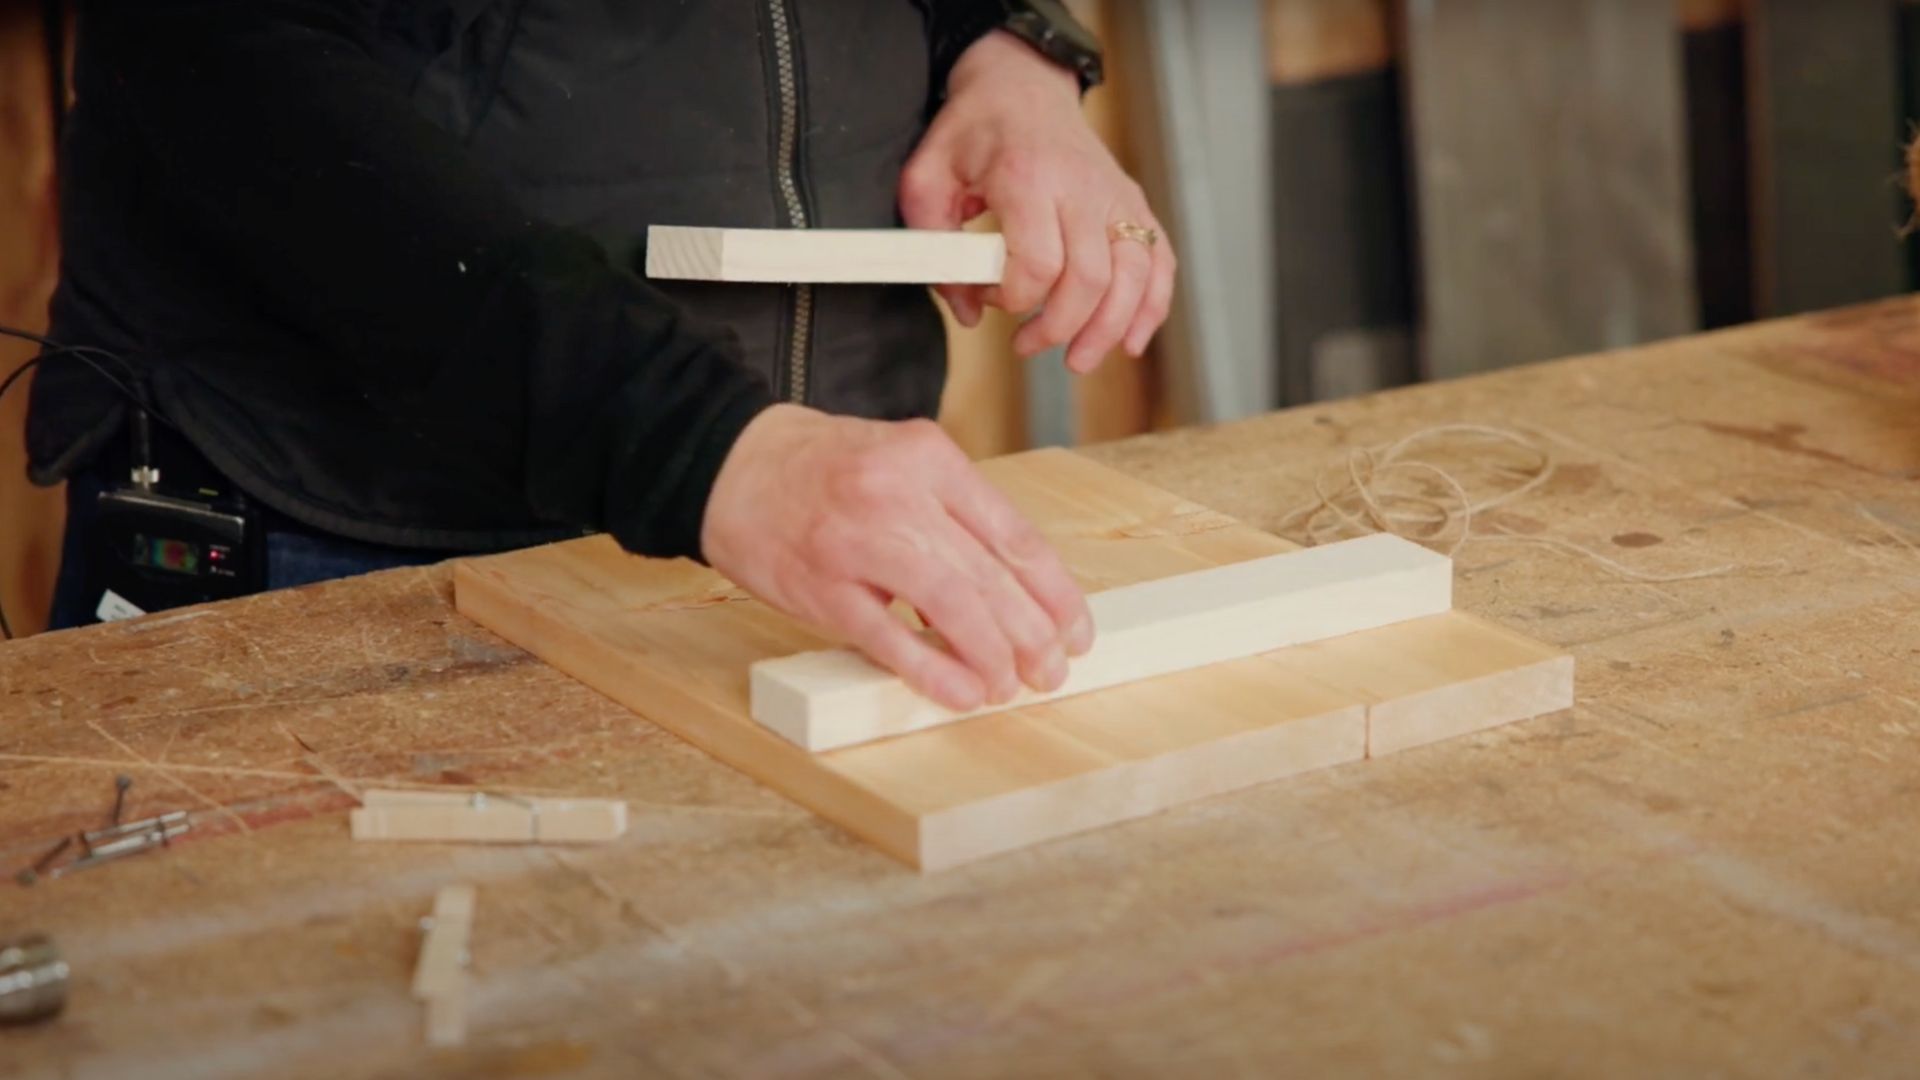
Step 2: Brace the Back
Flip the board over and lay your two shorter pieces horizontally across the back to hold the slats together. Position one near the top and one near the bottom.
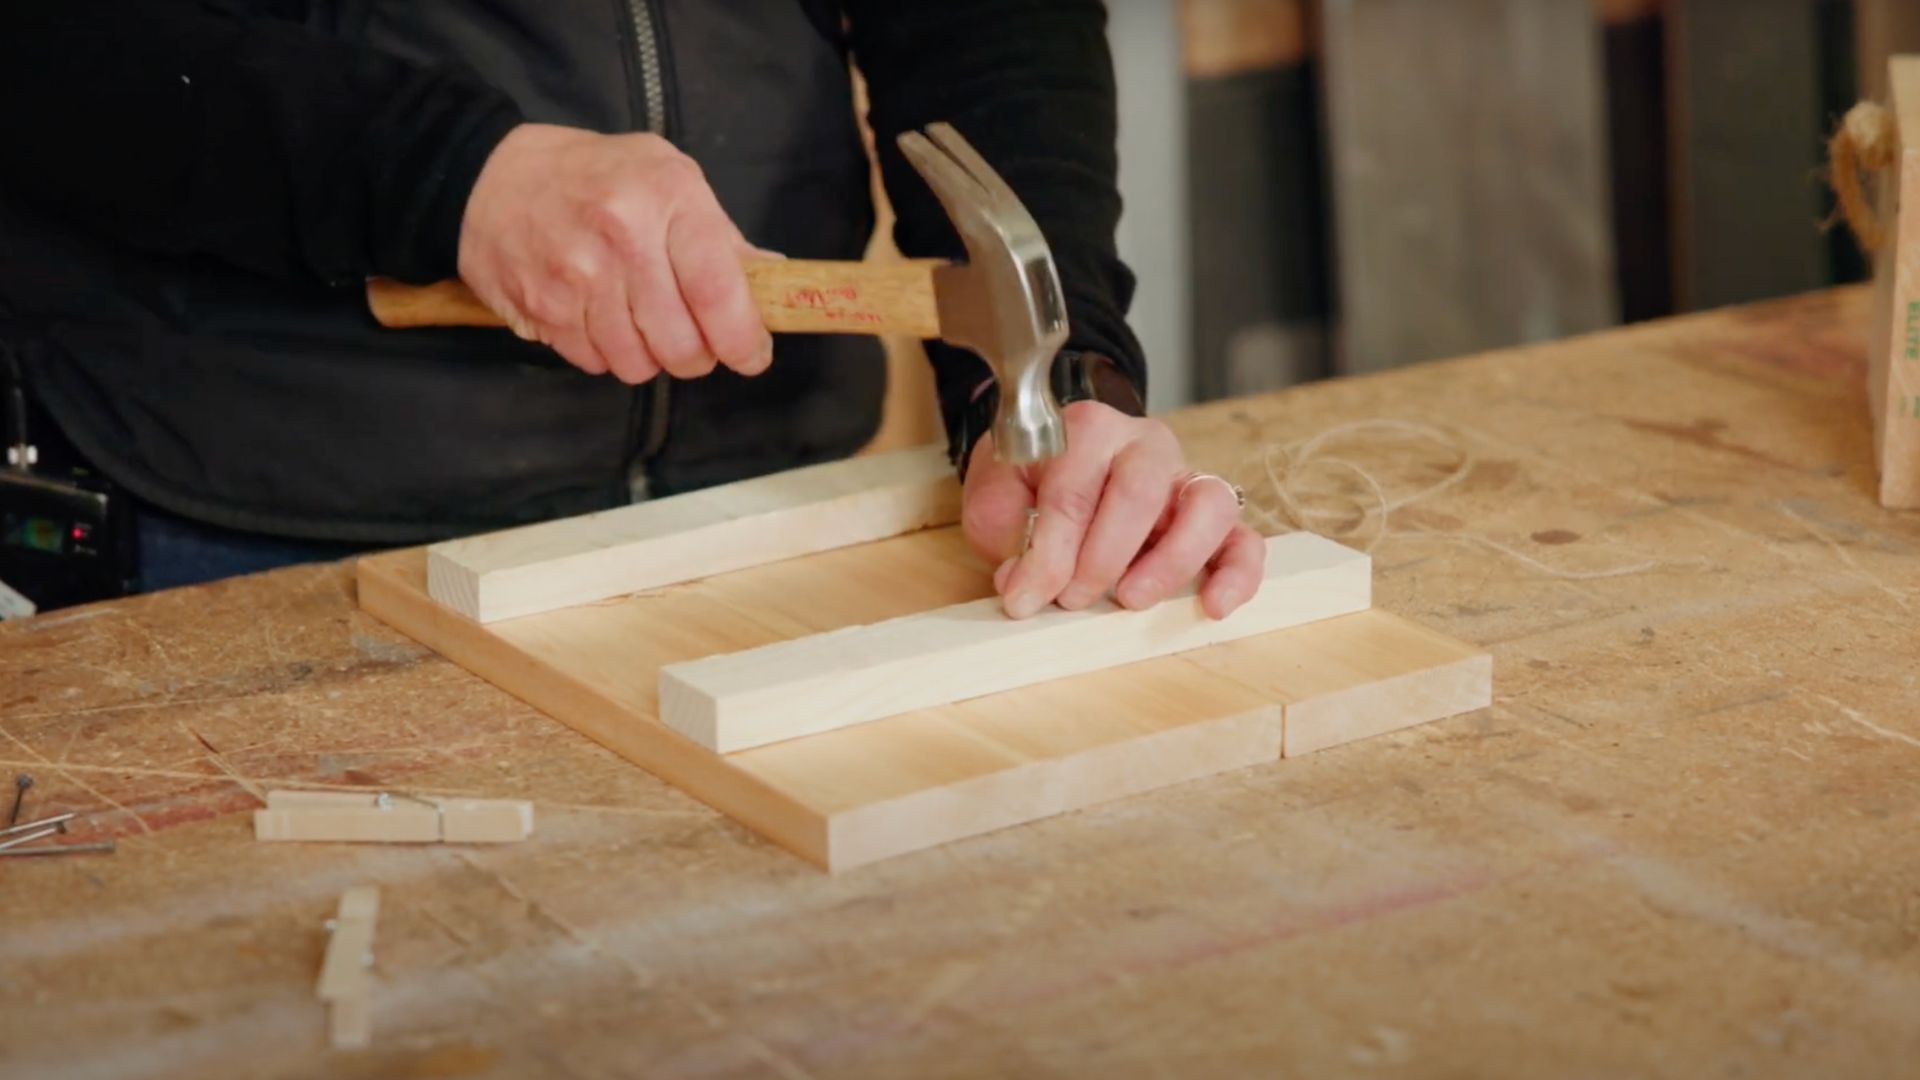
Step 3: Hammer It Together
Using nails and a hammer, secure the braces to each of the three front slats. Start with the center, then do the outer pieces. Take your time and ask for help if needed. This part can be a bit tricky!
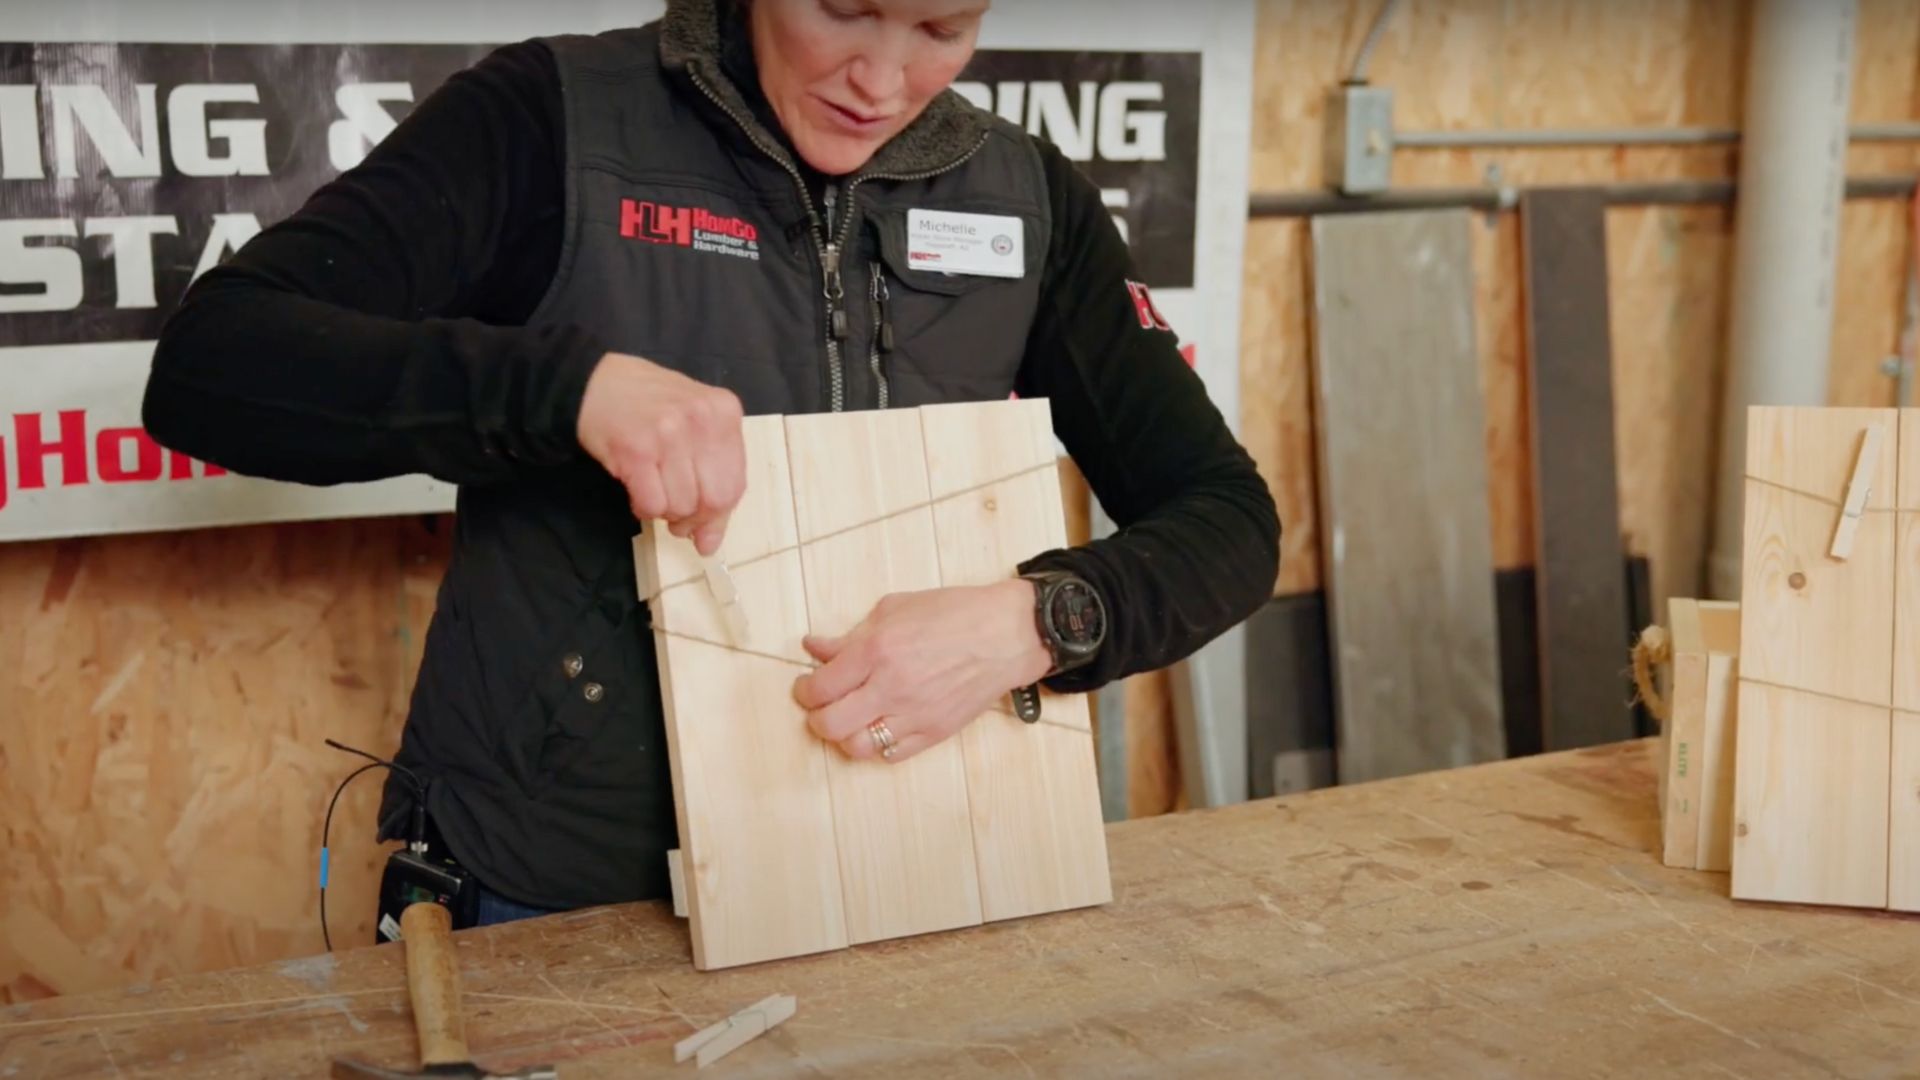
Step 4: Add Twine
Wrap twine around the front of your board, using the back braces to anchor it. Tie the ends securely in a knot or bow, whatever you like best. This is your space to get creative!
.jpg)
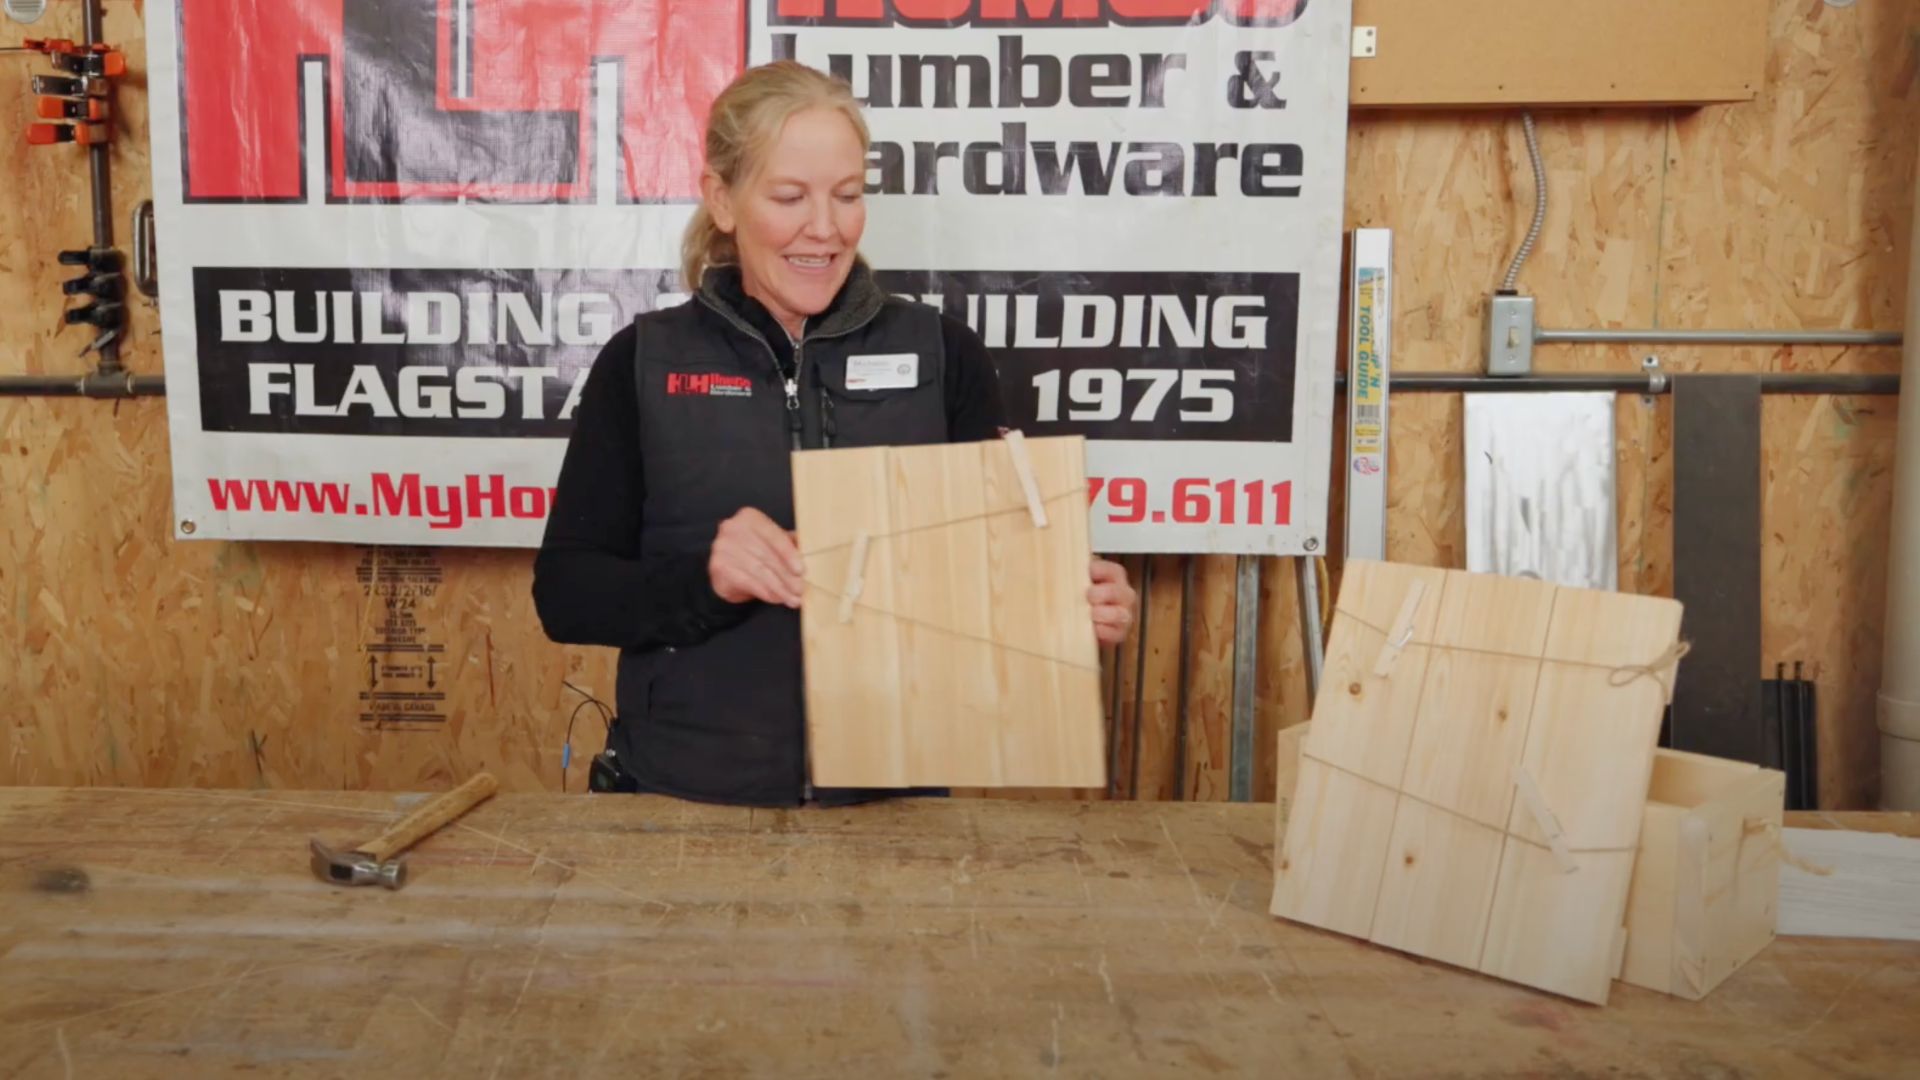
Step 5: Clip On Your Clothespins
Add clothespins to the twine so you’re ready to display photos, notes, artwork, or reminders.
Join Us for Young Builders!
We love seeing our Young Builders in action. Every project is as unique as the kid who builds it! Be sure to join us in-store for this month’s workshop, and don’t forget to tag us in your finished creations. Whether it’s hanging in your room or gifted to someone special, your message board is something to be proud of!
And keep an eye out for next month’s project. We love building with you.
Young Builders Project: Message Board
This month’s Young Builders project is all about getting the message accross... with a handmade message board you can use to hang your favorite photos, notes, or artwork!
Perfect for back-to-school season, this simple wood project is fun for kids and easy to personalize. Whether you’re adding it to your room, giving it as a gift, or creating a custom command center for the family, this board is a great way to show off your personality.
Project Kit Includes:
- 3 longer pieces of wood (for the front)
- 2 shorter pieces of wood (for bracing the back)
- Hammer and nails
- Twine
- Clothespins
- Optional: Picture hanging hardware (if you’d like to mount it on a wall)
Step-By-Step Instructions
Step 1: Line Up Your Wood
Place your three longer wooden slats side by side, as evenly as possible. These will form the front of your message board.
Step 2: Brace the Back
Flip the board over and lay your two shorter pieces horizontally across the back to hold the slats together. Position one near the top and one near the bottom.
Step 3: Hammer It Together
Using nails and a hammer, secure the braces to each of the three front slats. Start with the center, then do the outer pieces. Take your time and ask for help if needed. This part can be a bit tricky!
Step 4: Add Twine
Wrap twine around the front of your board, using the back braces to anchor it. Tie the ends securely in a knot or bow, whatever you like best. This is your space to get creative!
Step 5: Clip On Your Clothespins
Add clothespins to the twine so you’re ready to display photos, notes, artwork, or reminders.
Join Us for Young Builders!
We love seeing our Young Builders in action. Every project is as unique as the kid who builds it! Be sure to join us in-store for this month’s workshop, and don’t forget to tag us in your finished creations. Whether it’s hanging in your room or gifted to someone special, your message board is something to be proud of!
And keep an eye out for next month’s project. We love building with you.